How I Made My '80s Retro-Style Homepage - Part 2
Creating an interactive console with slow-scrolling text
In Part 1 of this series we learned how to create a glowing CRT monitor effect. In this part, we'll use JavaScript to make an interactive terminal that simulates a slow command line interface.
This will be a good review of several essential concepts in JavaScript, because to understand this, we must learn the following concepts:
- Asynchronous programming using promises and async/await
- Immediately invoked function expressions
- Manipulating HTML element contents
- Switch statements
- Event listeners
To continue where we left off in part 1, borrow the code from the Part 1 Codepen to get the CSS and some HTML boilerplate.
Slowly Writing Text to The Screen
Let's create a function called writeText that can take a string write it to a target element with a specified delay between characters.
We'll use a default delay of 10ms between characters.
function writeText(target, content, delay = 10) {

}
We use split to turn the string into an array (separated by nothing so each letter is its own element). And we create a counter variable, current.
const contentArray = content.split('');
let current = 0
Now we loop through the contentArray, incrementing the counter until we have gone through all the characters. Inside the loop the main thing we need to do is call setTimeout to have it draw each character after a progressively increasing delay.
But we can't just call setTimeout a bunch of times, because by the time any of the setTimeouts run, the counter will already be at the maximum value and nothing will work! It would just write "undefined" to the screen many times after a long pause.
We can solve this by using an IIFE (immediately invoked function expression). This looks a lot like a normal function except it doesn’t need a name and is enclosed in parentheses and will execute as soon as it is declared. This allows us to pass an argument to setTimeout without the value of that argument changing, because it has its own internal, separate scope.
Note: If you don't end JS lines with semicolons, beginning a line with a parenthesis can cause issues, so I add a semicolon before a line starting with a parenthesis or square bracket.
The arrow function used as the first parameter to setTimeout below adds one character at a time to the HTML content of the target to build it up. And the time delay of each setTimeout will be incremented by the specified delay. This gives the effect of 'writing in' all the characters at a slow, consistent speed.
while (current < contentArray.length) {
  ;(function(curr) {
    setTimeout(
      () => {target.innerHTML += contentArray[curr]},
      delay * curr // increase delay with each iteration
    )
  })(current++)
}
This should work to slowly write to the screen.
If we are doing anything more than writing text once, we will want way to run a series of these commands in sequence, and then be able to do something else when we are done. This is a perfect use case for promises.
When we use a promise, we are returning a "promise" of something happening at a later time, rather than anything concrete. This "later time" is when the promise's resolve method is executed, which we can call when the last character is written.
Let's revise the writeText method to include this call. While we are at it, we can switch our IIFE with an arrow function, and use scrollTo to ensure that the scrolling text is always in view:
// Write text to a target element with a specified delay in ms
function writeText(target, content, delay = 5)
{
  // Loop through array of content characters
  return new Promise((resolve) => {
    // Make an array of the specified content
    const contentArray = content.split('')

    // Keep track of the character currently being written
    let current = 0

    while (current < contentArray.length) {
      ;((curr) => {
        setTimeout(() => {
          target.innerHTML += contentArray[curr]
          // Scroll to the bottom of the screen unless scroll is false
          window.scrollTo(0, document.body.scrollHeight)

          // Resolve the promise once the last character is written
          if (curr === contentArray.length - 1) resolve()
        }, delay * curr) // increase delay with each iteration
      })(current++)
    }
  })
}
Excellent! Now writeText returns a promise, which allows you to chain calls to writeText using the Promise then() method. To make code even more readable, we shall create an async function and then simply invoke calls to writeText one after the other by preceding the calls with await.
async function writeStuff() {
  await writeText(element1, 'some text')
  await writeText(element2, 'more text')
  // Anything else you want to happen after this
}
Setting up the command prompt
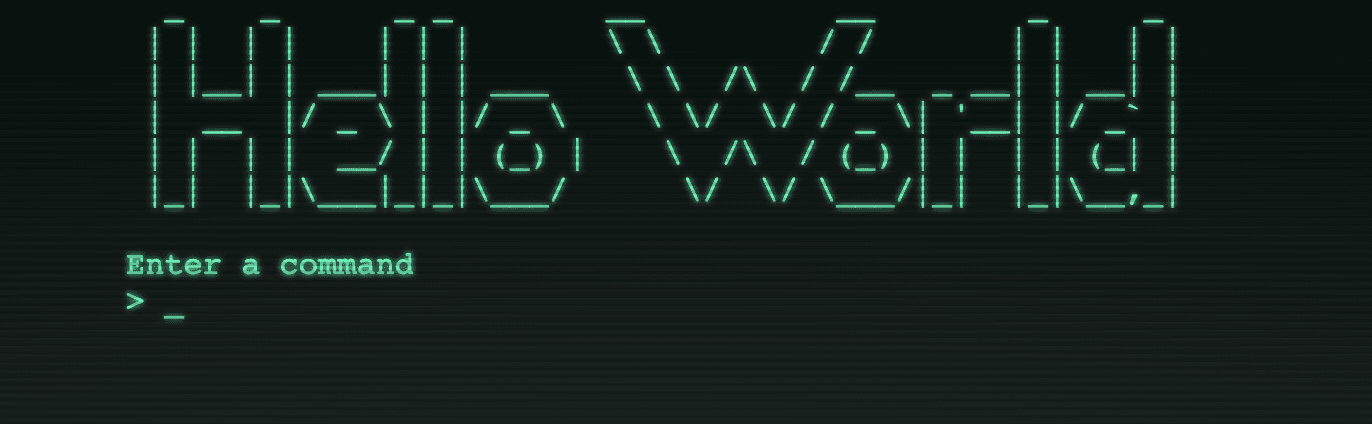
Let's create some boilerplate HTML that we can use to create our command prompt. We will have a 'banner' section with some ASCII art, a section for instructions, a section that output is written to, and a prompt.
<html>
<body>
  <pre id="asciiText">
  _    _      _ _        __          __        _     _
 | |  | |    | | |       \ \        / /       | |   | |
 | |__| | ___| | | ___    \ \  /\  / /__  _ __| | __| |
 |  __  |/ _ \ | |/ _ \    \ \/  \/ / _ \| '__| |/ _` |
 | |  | |  __/ | | (_) |    \  /\  / (_) | |  | | (_| |
 |_|  |_|\___|_|_|\___/      \/  \/ \___/|_|  |_|\__,_|
  </pre>
  <pre id="instructions"></pre>
  <pre id="output"></pre>
  <div id="prompt">
    <span id="command-input"></span><span id="cursor" class="blink"></span>
  </div>
</body>
</html>
The command-input span above will be where the user's keystrokes will show up and the contents of this will be interpreted as a command that we can run.
To get this working, we'll have to listen for keystrokes on the keydown event, then run a handleKeypress function when a keystroke is found. We will pass input and output elements as arguments to this function.
The first thing we'll need is to check which keystroke was entered, as we want to print the entered key to the screen unless it was enter or backspace. We handle those differently.
If the user presses enter, we want to save the command, then execute it, then we can use writeText to output it.
Else if the user presses backspace, we want to erase the last typed in character.
Finally, for any other key, we just print the keystroke to our 'input' span.
function handleKeypress(e, input, output)
{
    // Enter clears the input and executes the command
    if (e.key === 'Enter') {
      const command = input.innerText
      input.innerHTML = ''
      // reprint the entered command
      output.innerHTML += '<br><strong>' + command + '</strong><br>'
      writeText(output, execute(command))
    }

    // Backspace causes last character to be erased
    else if (e.key === 'Backspace') {
      input.innerHTML = input.innerHTML.substring(0, input.innerHTML.length - 1)
    }

    // For any other key, print the keystroke to the prompt
    else input.insertAdjacentText('beforeend', e.key)

  // Accept a command, execute it, and return any output
  function execute(command)
  {
    switch(command) {
      case 'test':
        return 'Test successful!'

      default:
        return 'Unknown command'
    }
  }
}
Note that our function includes another function that can contain a list of commands: we use a switch block that allows us to add any commands we want. We can also perform any other operations within each case that can be performed before returning the output text.
Putting It All Together
To put together the final program, we can create an eventListener for the DOMContentLoaded event so a function will be run when the page is loaded. This function will draw text to the screen, then add another event listener to the document for the keydown event that invokes handleKeypress. This would look like so:
// Execute page loading asynchronously once content has loaded
document.addEventListener('DOMContentLoaded', async () => {
  const instructions = document.getElementById('instructions')
  const prompt = document.getElementById('prompt')
  const cursor = document.getElementById('cursor')

  await writeText(instructions, 'Enter a command')
  prompt.prepend('>')
  cursor.innerHTML = '_'

  const input = document.getElementById('command-input')
  const output = document.getElementById('output')
  document.addEventListener('keydown', (e) => handleKeypress(e, input, output))
})
By adding more cases to the switch block, you can make a retro-looking command line interface that accepts a number of commands and allows the user to interact with it.
To see a full, working example, check out my Codepen below.
By tweaking this program, you should be able to make a fun and unique command line application on a webpage that has some personality and fun elements.
If you found this article interesting and educational, follow me, @jdlien, on Twitter for more content like this!