How to Set Up The Best PHP 8+ Development Environment in Windows 11
And How to Run as a Regular Non-Administrator User Account.
There are many approaches to setting up a development environment in Windows. Whatever method you use, getting a stack that allows you to simultaneously work on many websites with good performance, and without messing up your system can be difficult. This is particularly true when you are not able to run as an administrator. I have found an excellent solution to this.
Follow along in my video below.
I’lll walk you setting up a local Apache & PHP web server using the scoop.sh package manager for Windows alongside a handy all-in-one development environment called Laragon. This process should work on a regular user account, but you will need access to an administrator account to complete the install. Windows 11 is shown here but these instructions should also work on Windows 10, with minor differences.
1. Install Laragon as an administrator
Visit laragon.org/download and download the Full installer (~147MB).
You must run this as an administrator (by right-clicking on the filename) or it will not complete the installation properly if you are a regular user. The default options should be fine.
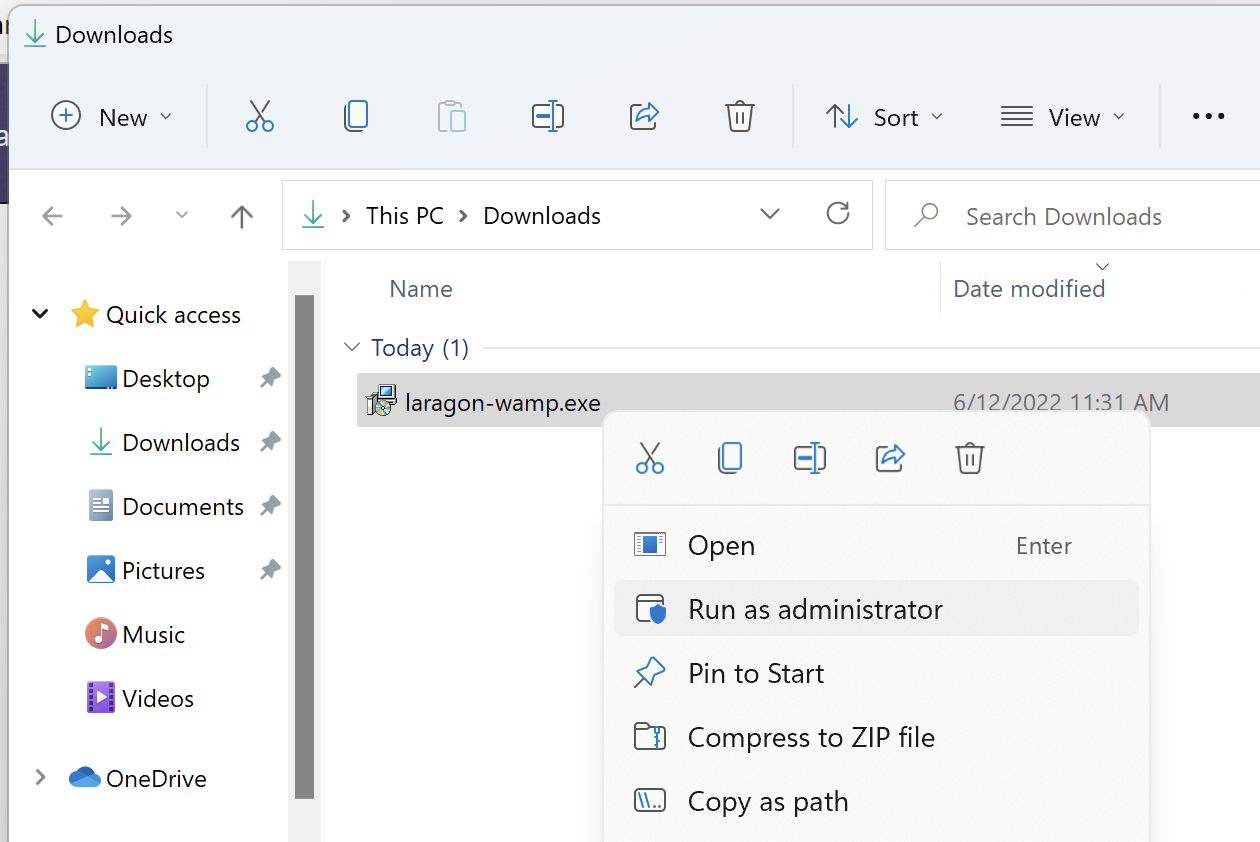
When the installation is complete, restart Windows.
With Laragon installed, you will now have a mostly-functional web server environment, but there are several steps I recommend to get things working better.
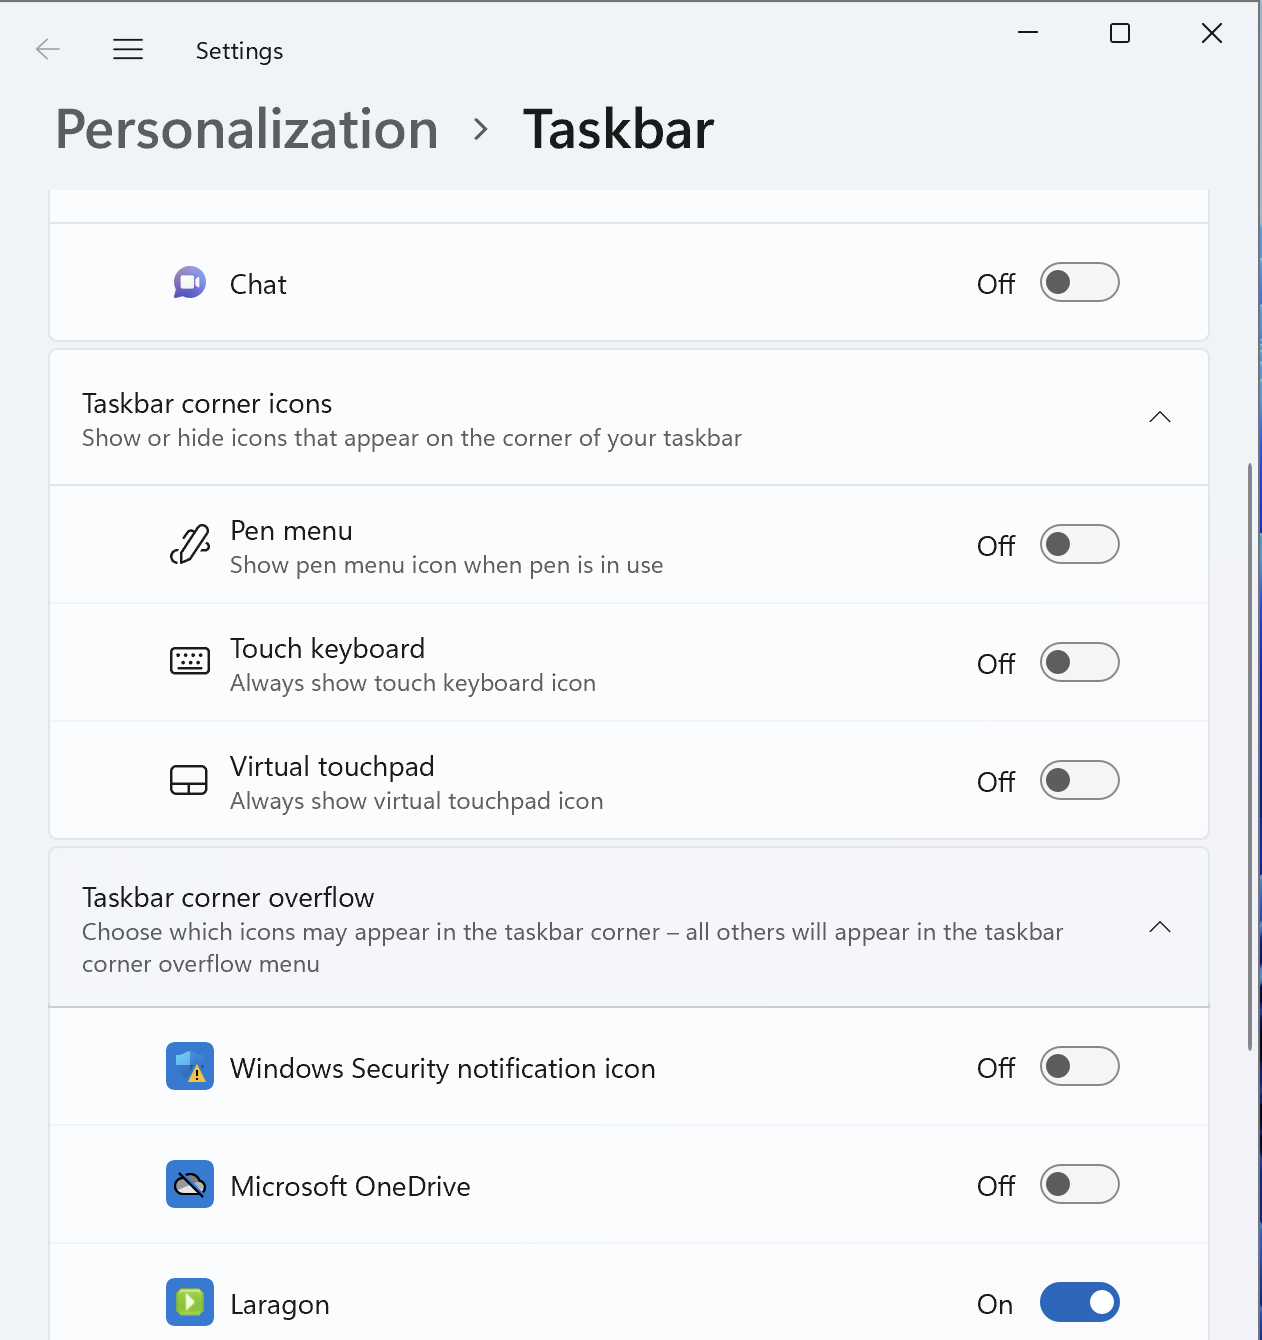
I recommend turning on "Taskbar corner overflow" for Laragon by right clicking on the Windows Taskbar at the bottom and clicking "Taskbar settings". Then find "Taskbar corner overflow" and expand it, and turn on "Laragon". This makes it a little easier to get at the Laragon icon where you can change settings and start or stop your server.
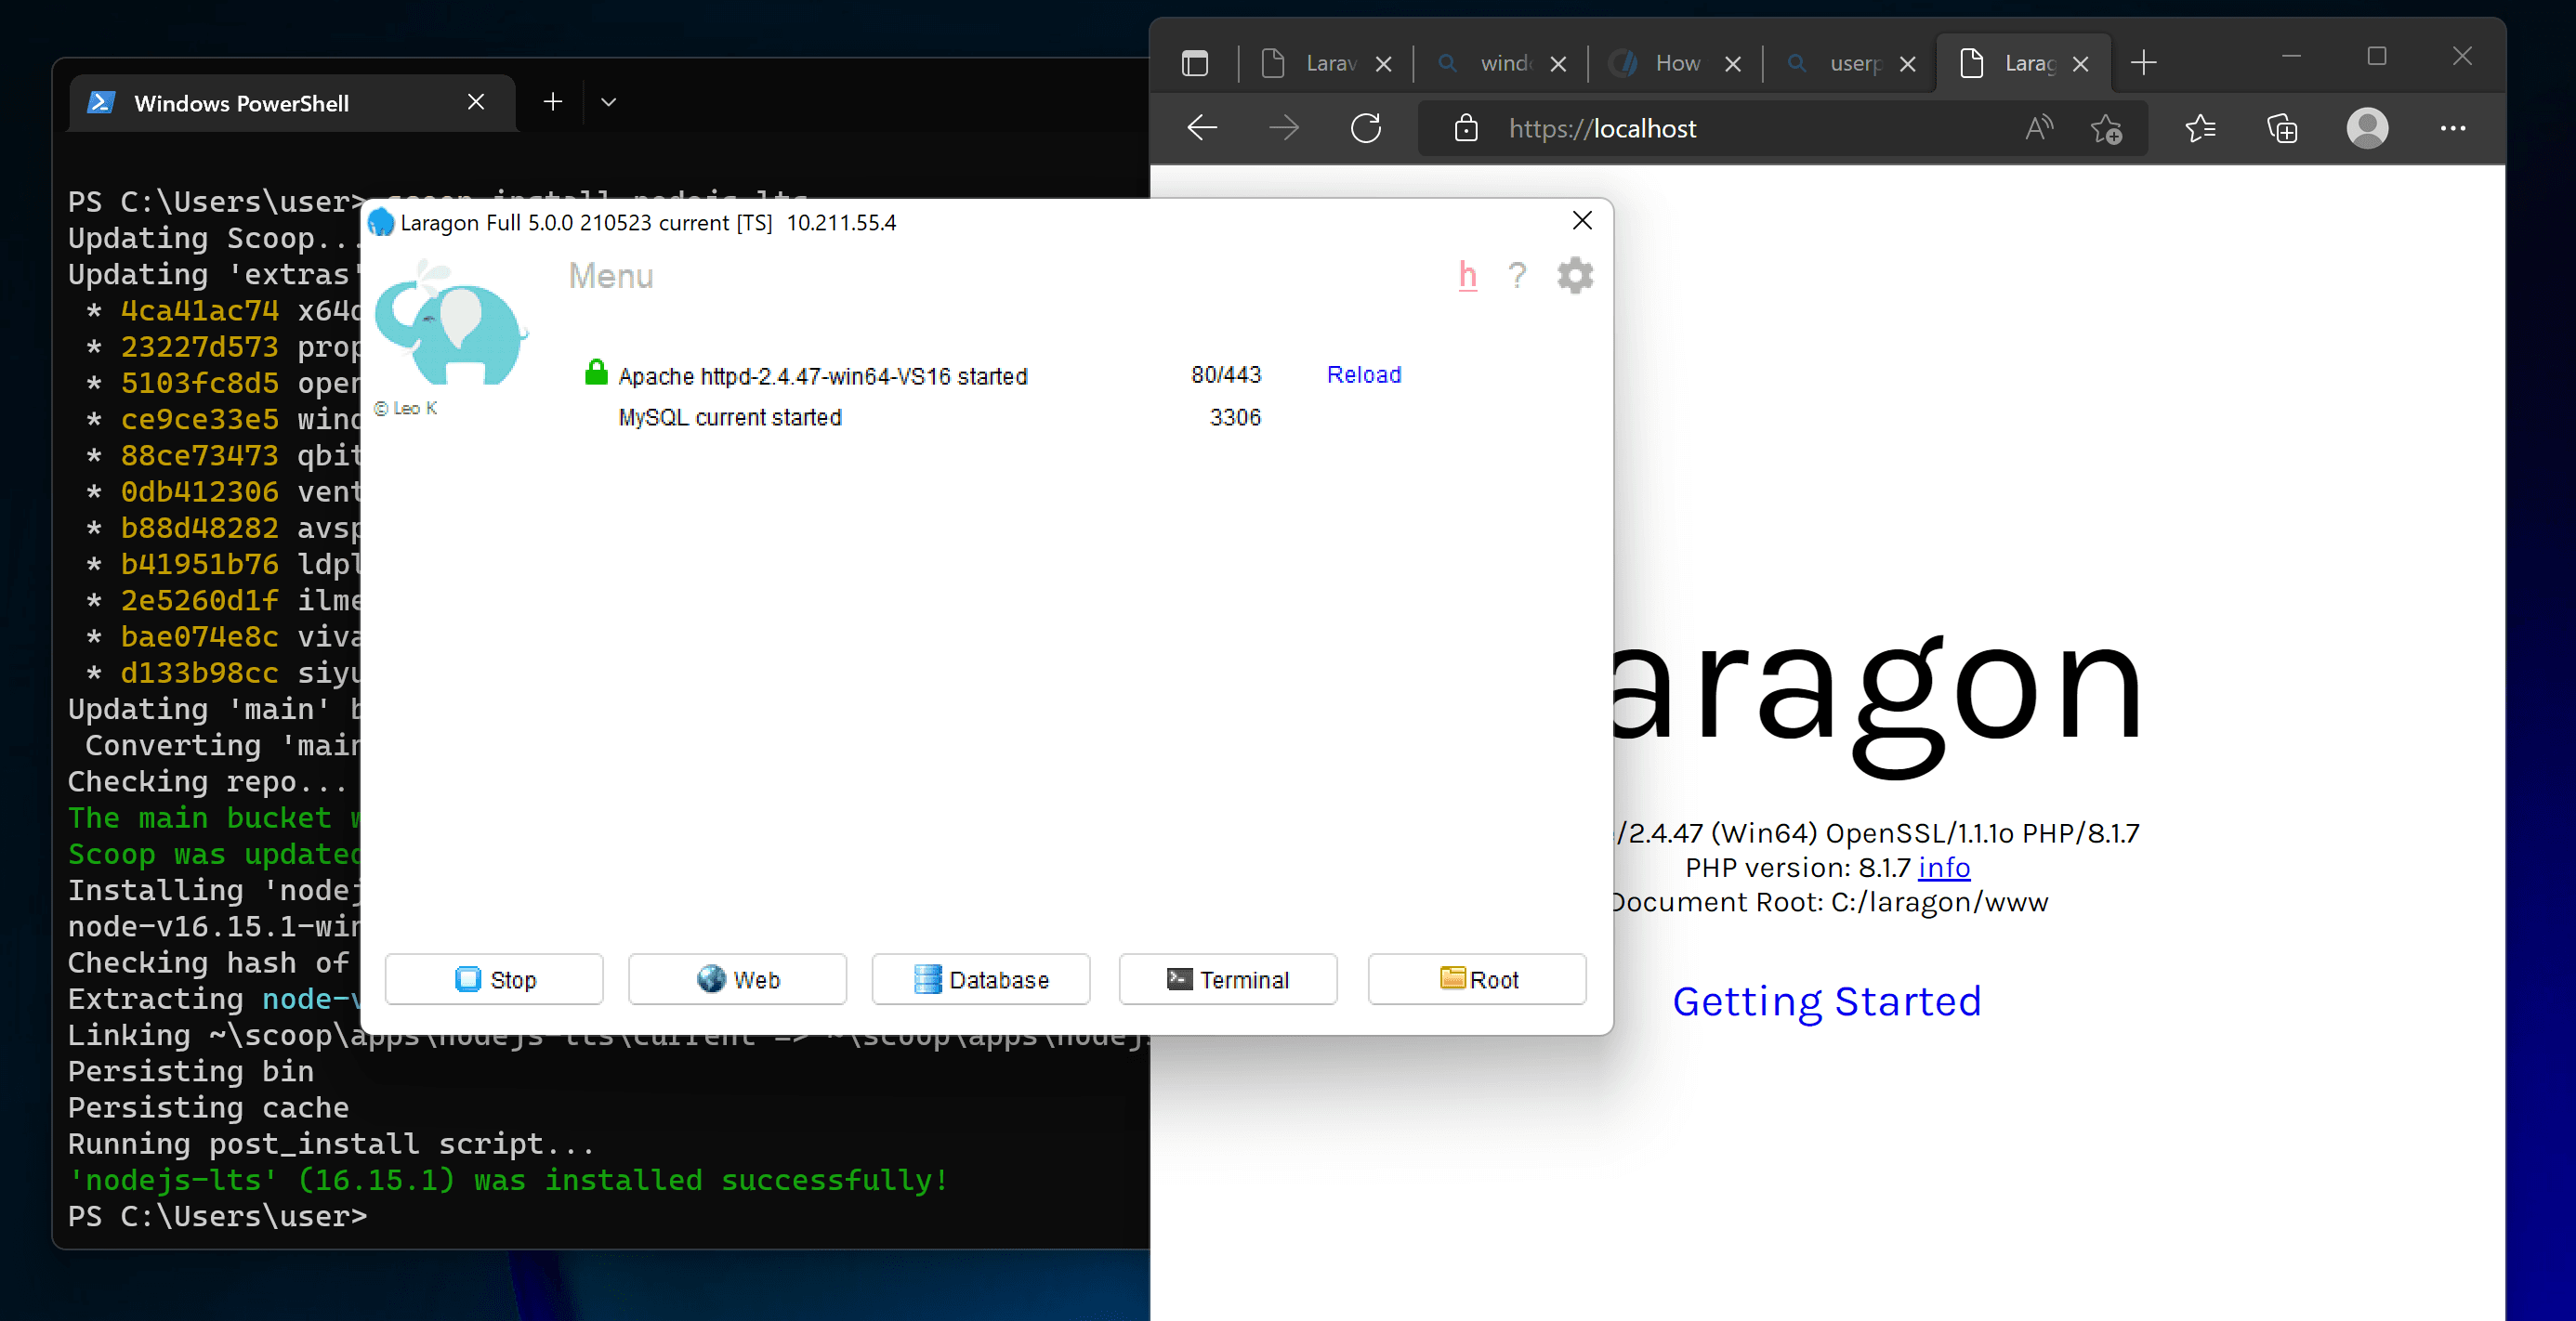
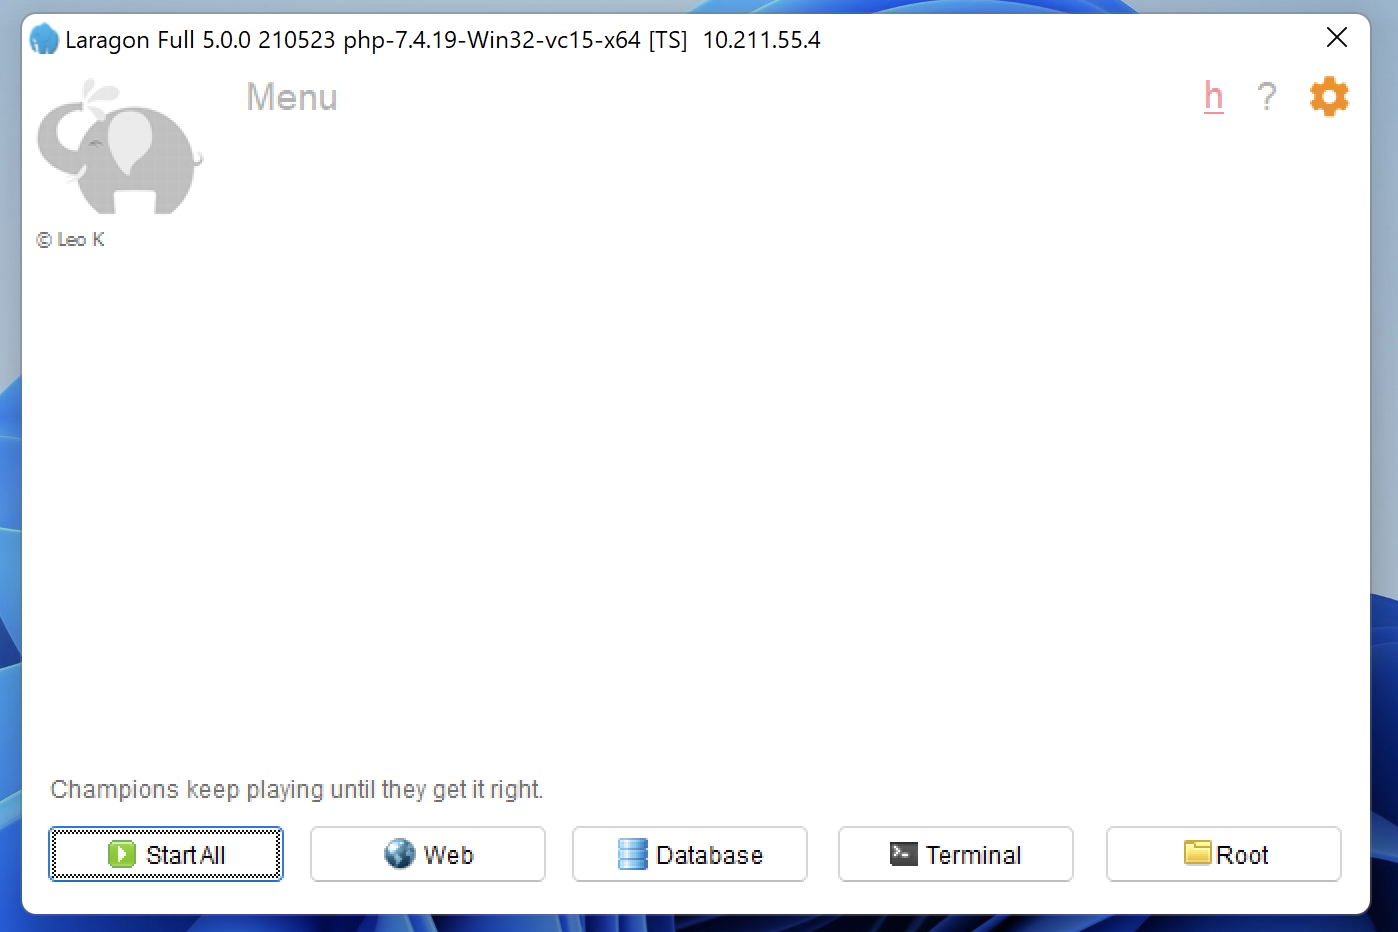
Open the Laragon app by clicking the desktop or corner icon and then click on the gear icon in the top-right corner.
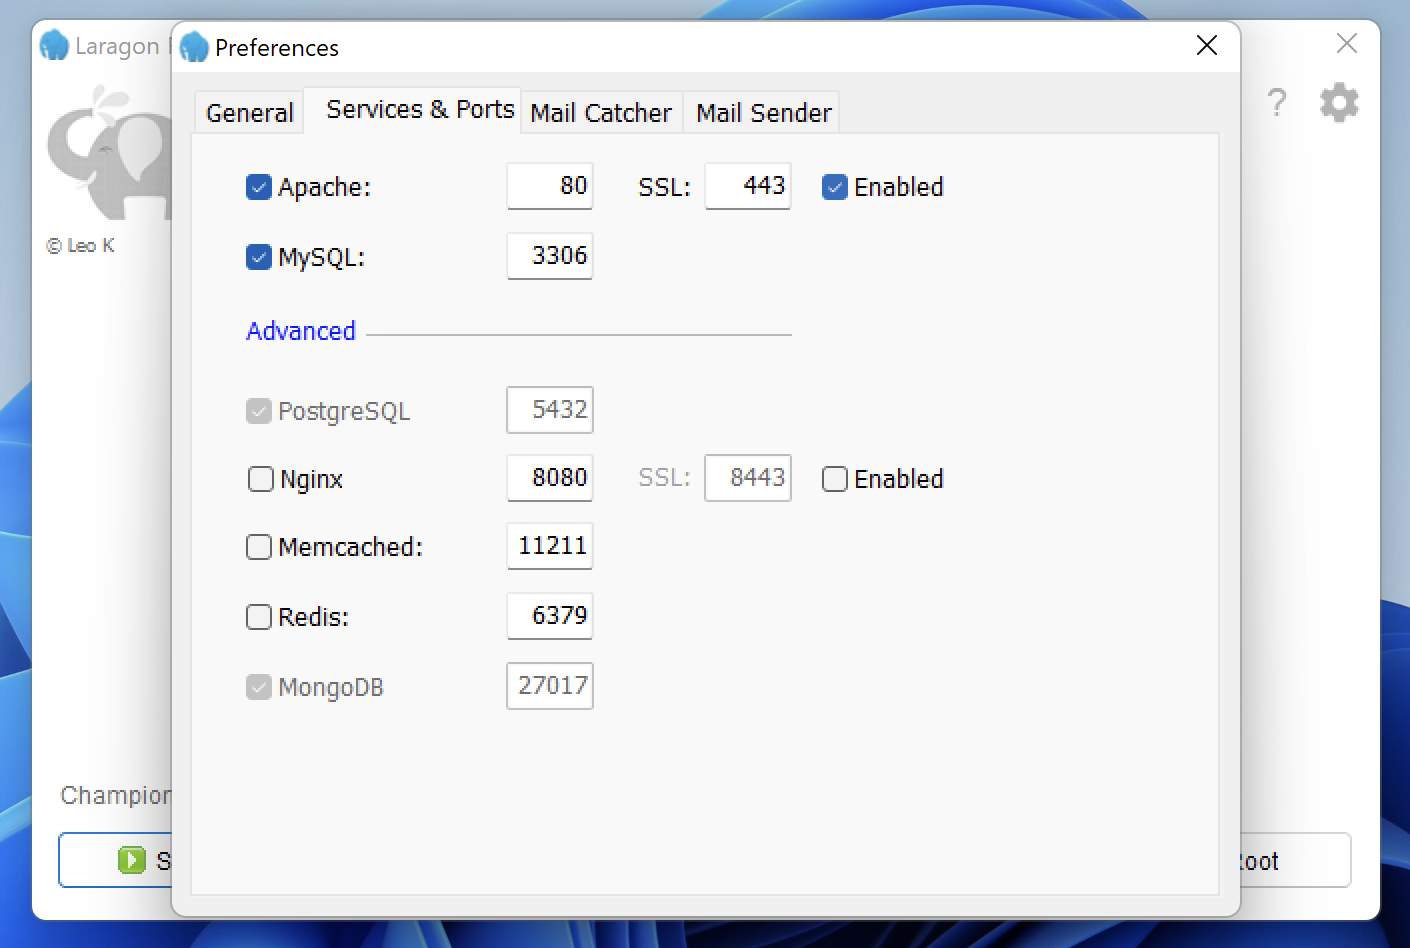
Under "Services & Ports" by Apache: SSL: 443 check "Enabled" to turn on SSL.
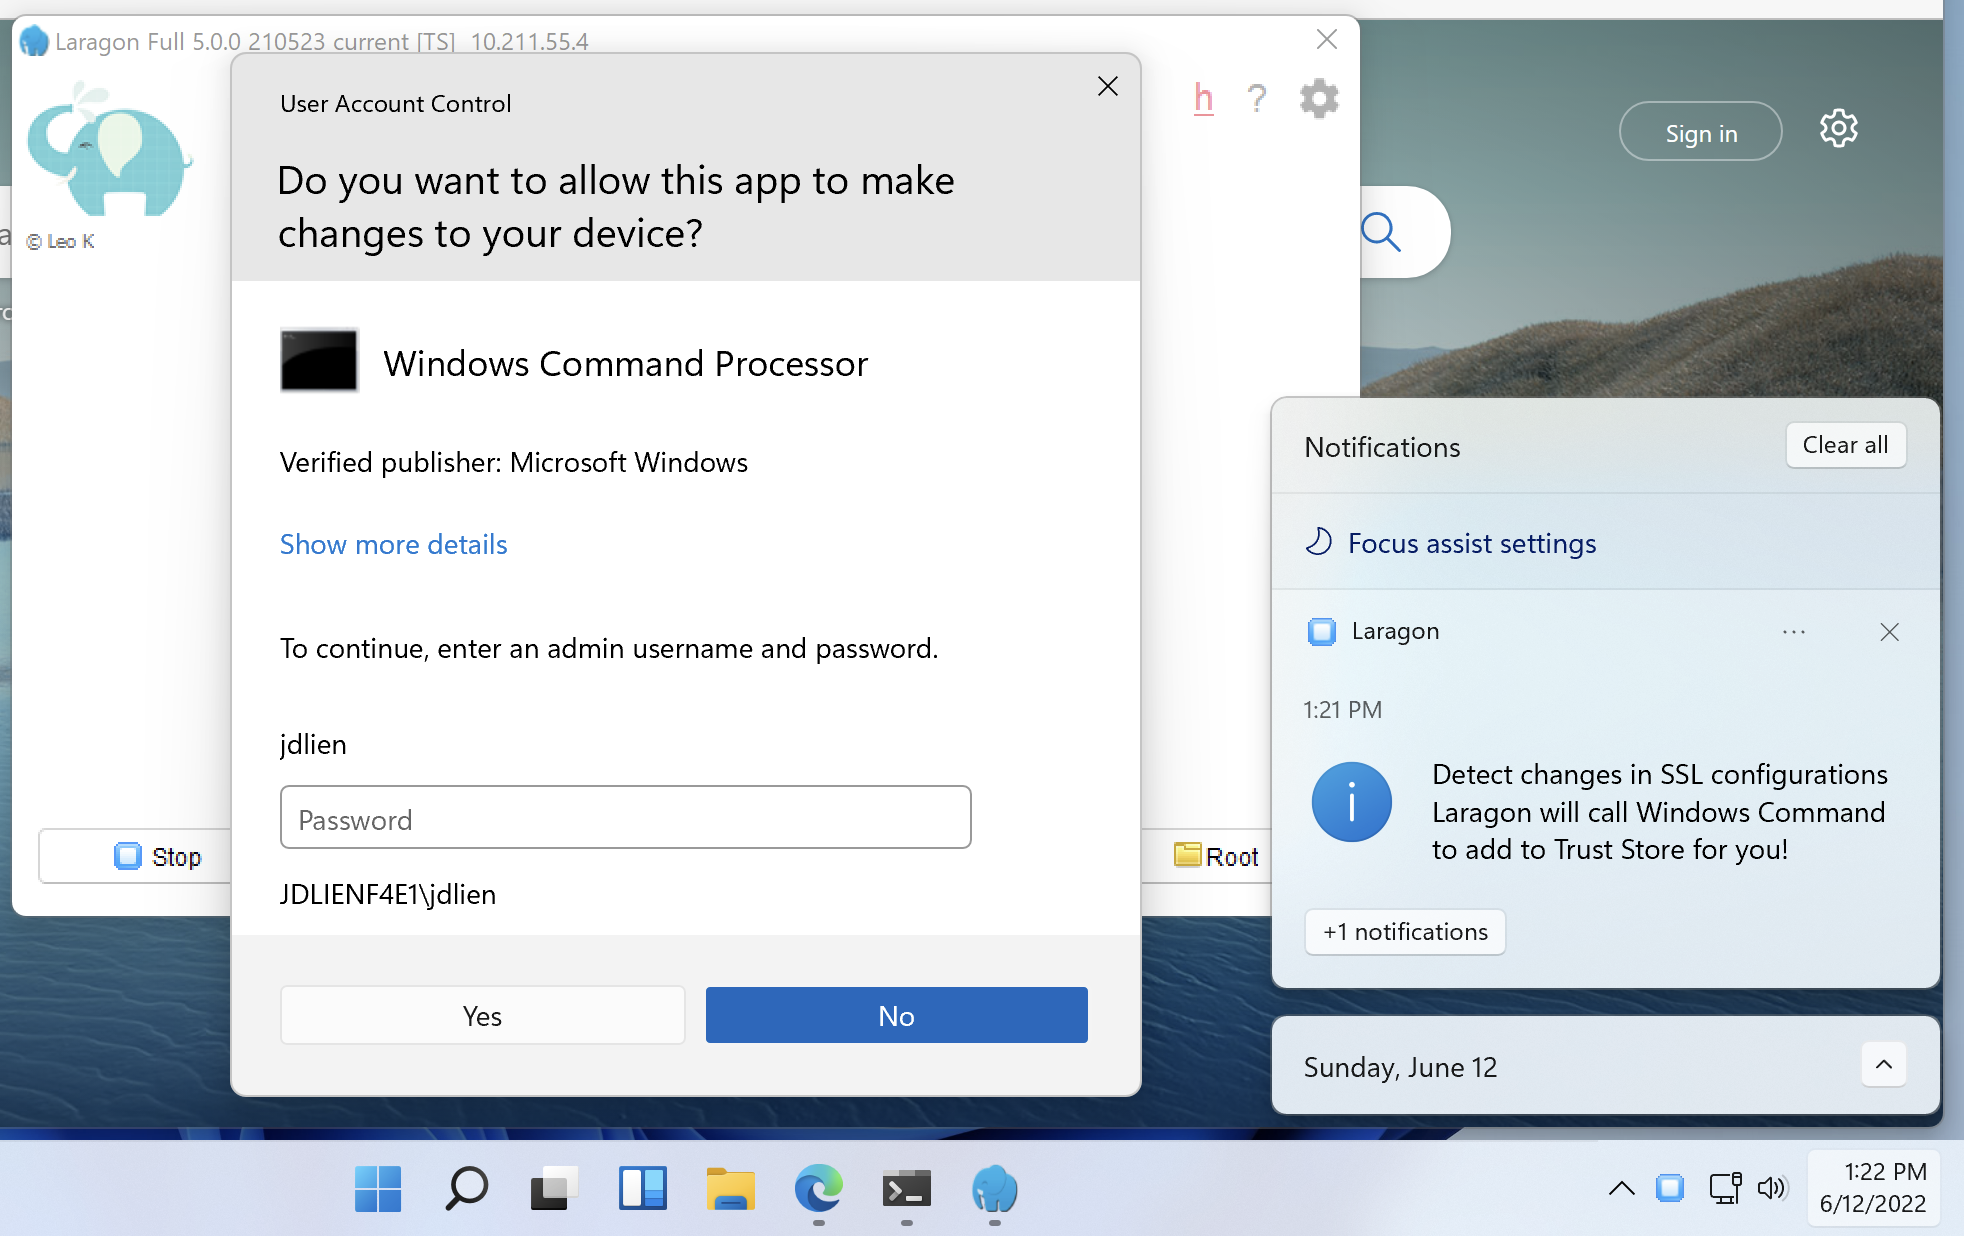
Next, right click on the Laragon corner icon to show the menu, and under Apache -> SSL click "Add laragon.crt" to Trust Store. This ensures you do not have any certificate errors when trying to load your sites with SSL.

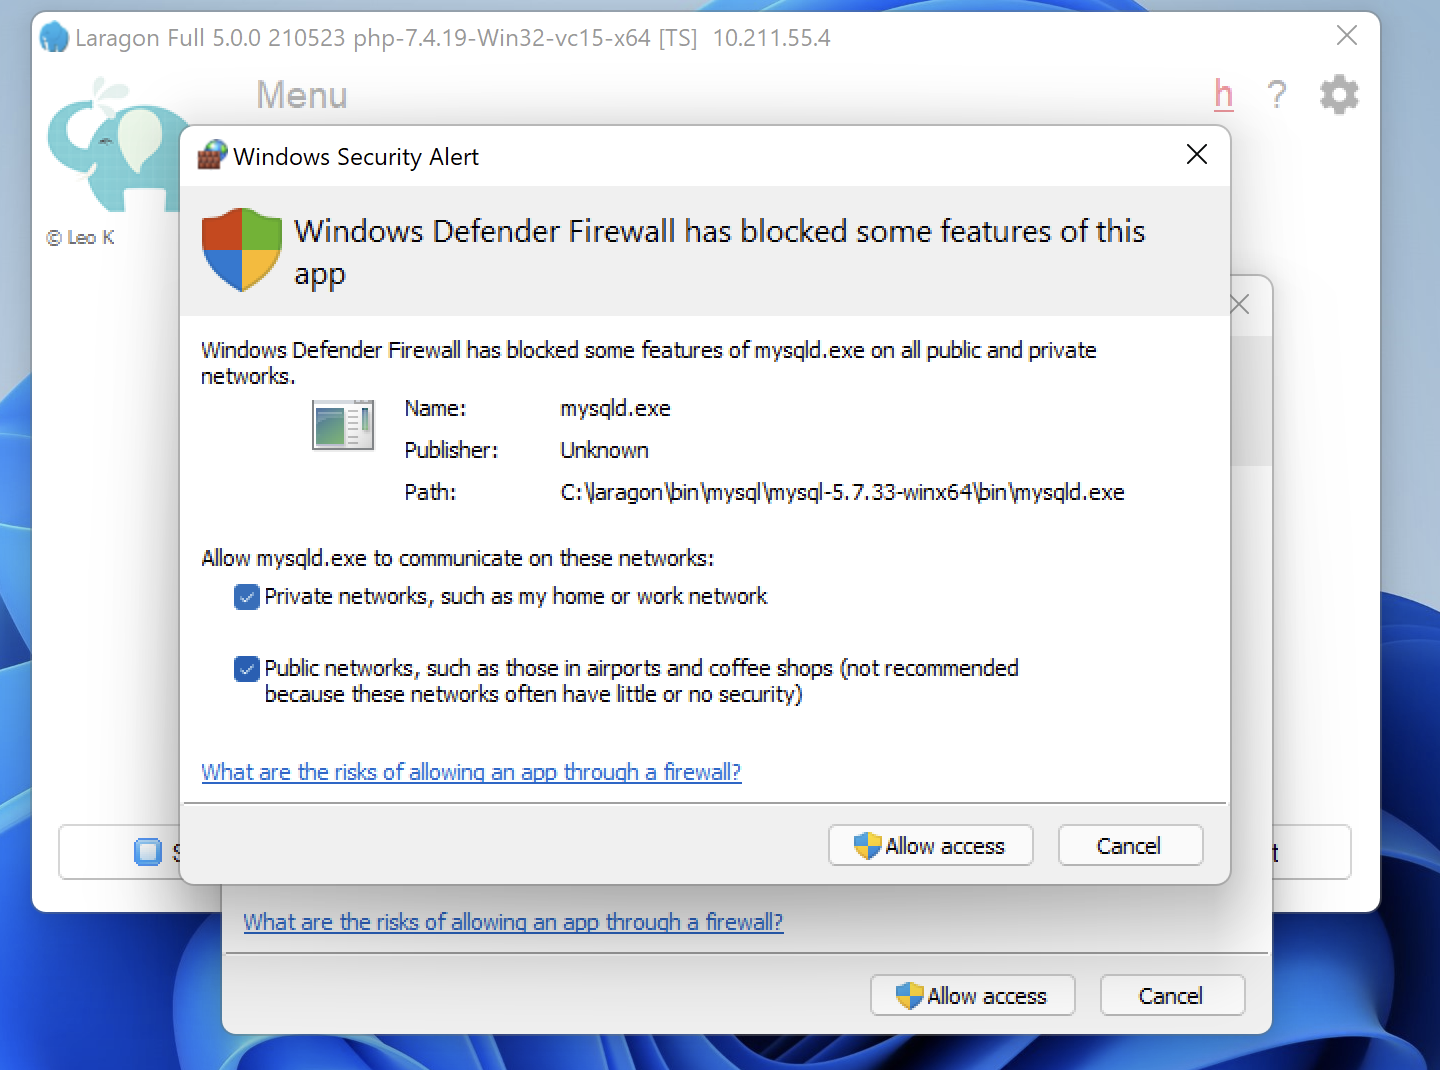
Next we can click Start All to ensure everything is working. You will likely be prompted to allow Apache and mysqld access to the networks, so ensure that you allow the requisite access.
Now click "Web" in Laragon or simply visit "localhost" from a browser. If things are working so far, you should see the Laragon status page. Also try visiting https://localhost/ and ensure that there are no certificate issues.
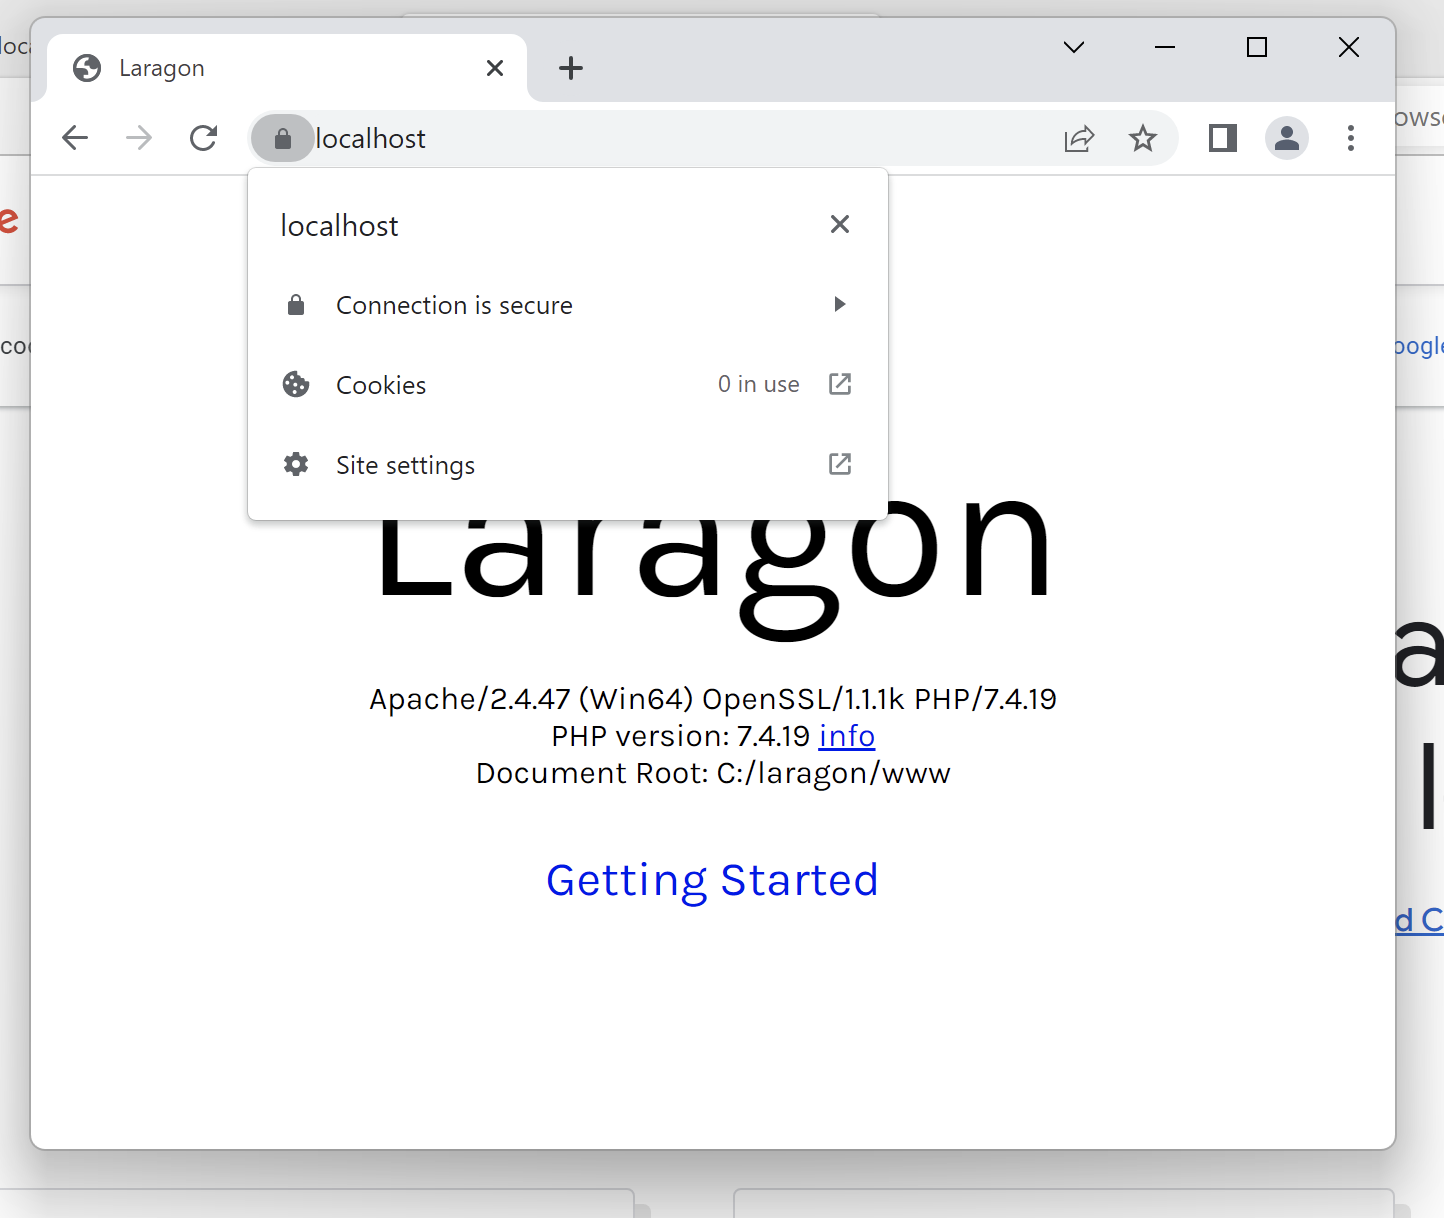
If this looks good then you are off to an excellent start!
2. Install Scoop and Recommended Applications
We should now have a functional development environment, but there are a few issues. First, the versions of PHP and MySQL included with Laragon are quite old. And not only that, but they don't work outside of the Cmder environment included with Laragon.
If you want to use the latest versions of PHP frameworks like Laravel or Symfony you should be on the latest version of PHP. Fortunately we can make it easy to pull in the latest versions by using Scoop.
Open a regular (non Administrative) terminal window for PowerShell. If you're on Windows 10 you could use PowerShell, but I recommend you install the new Microsoft Terminal application as it's a significant improvement over the oldschool cmd.exe and PowerShell. This is already built into Windows 11.
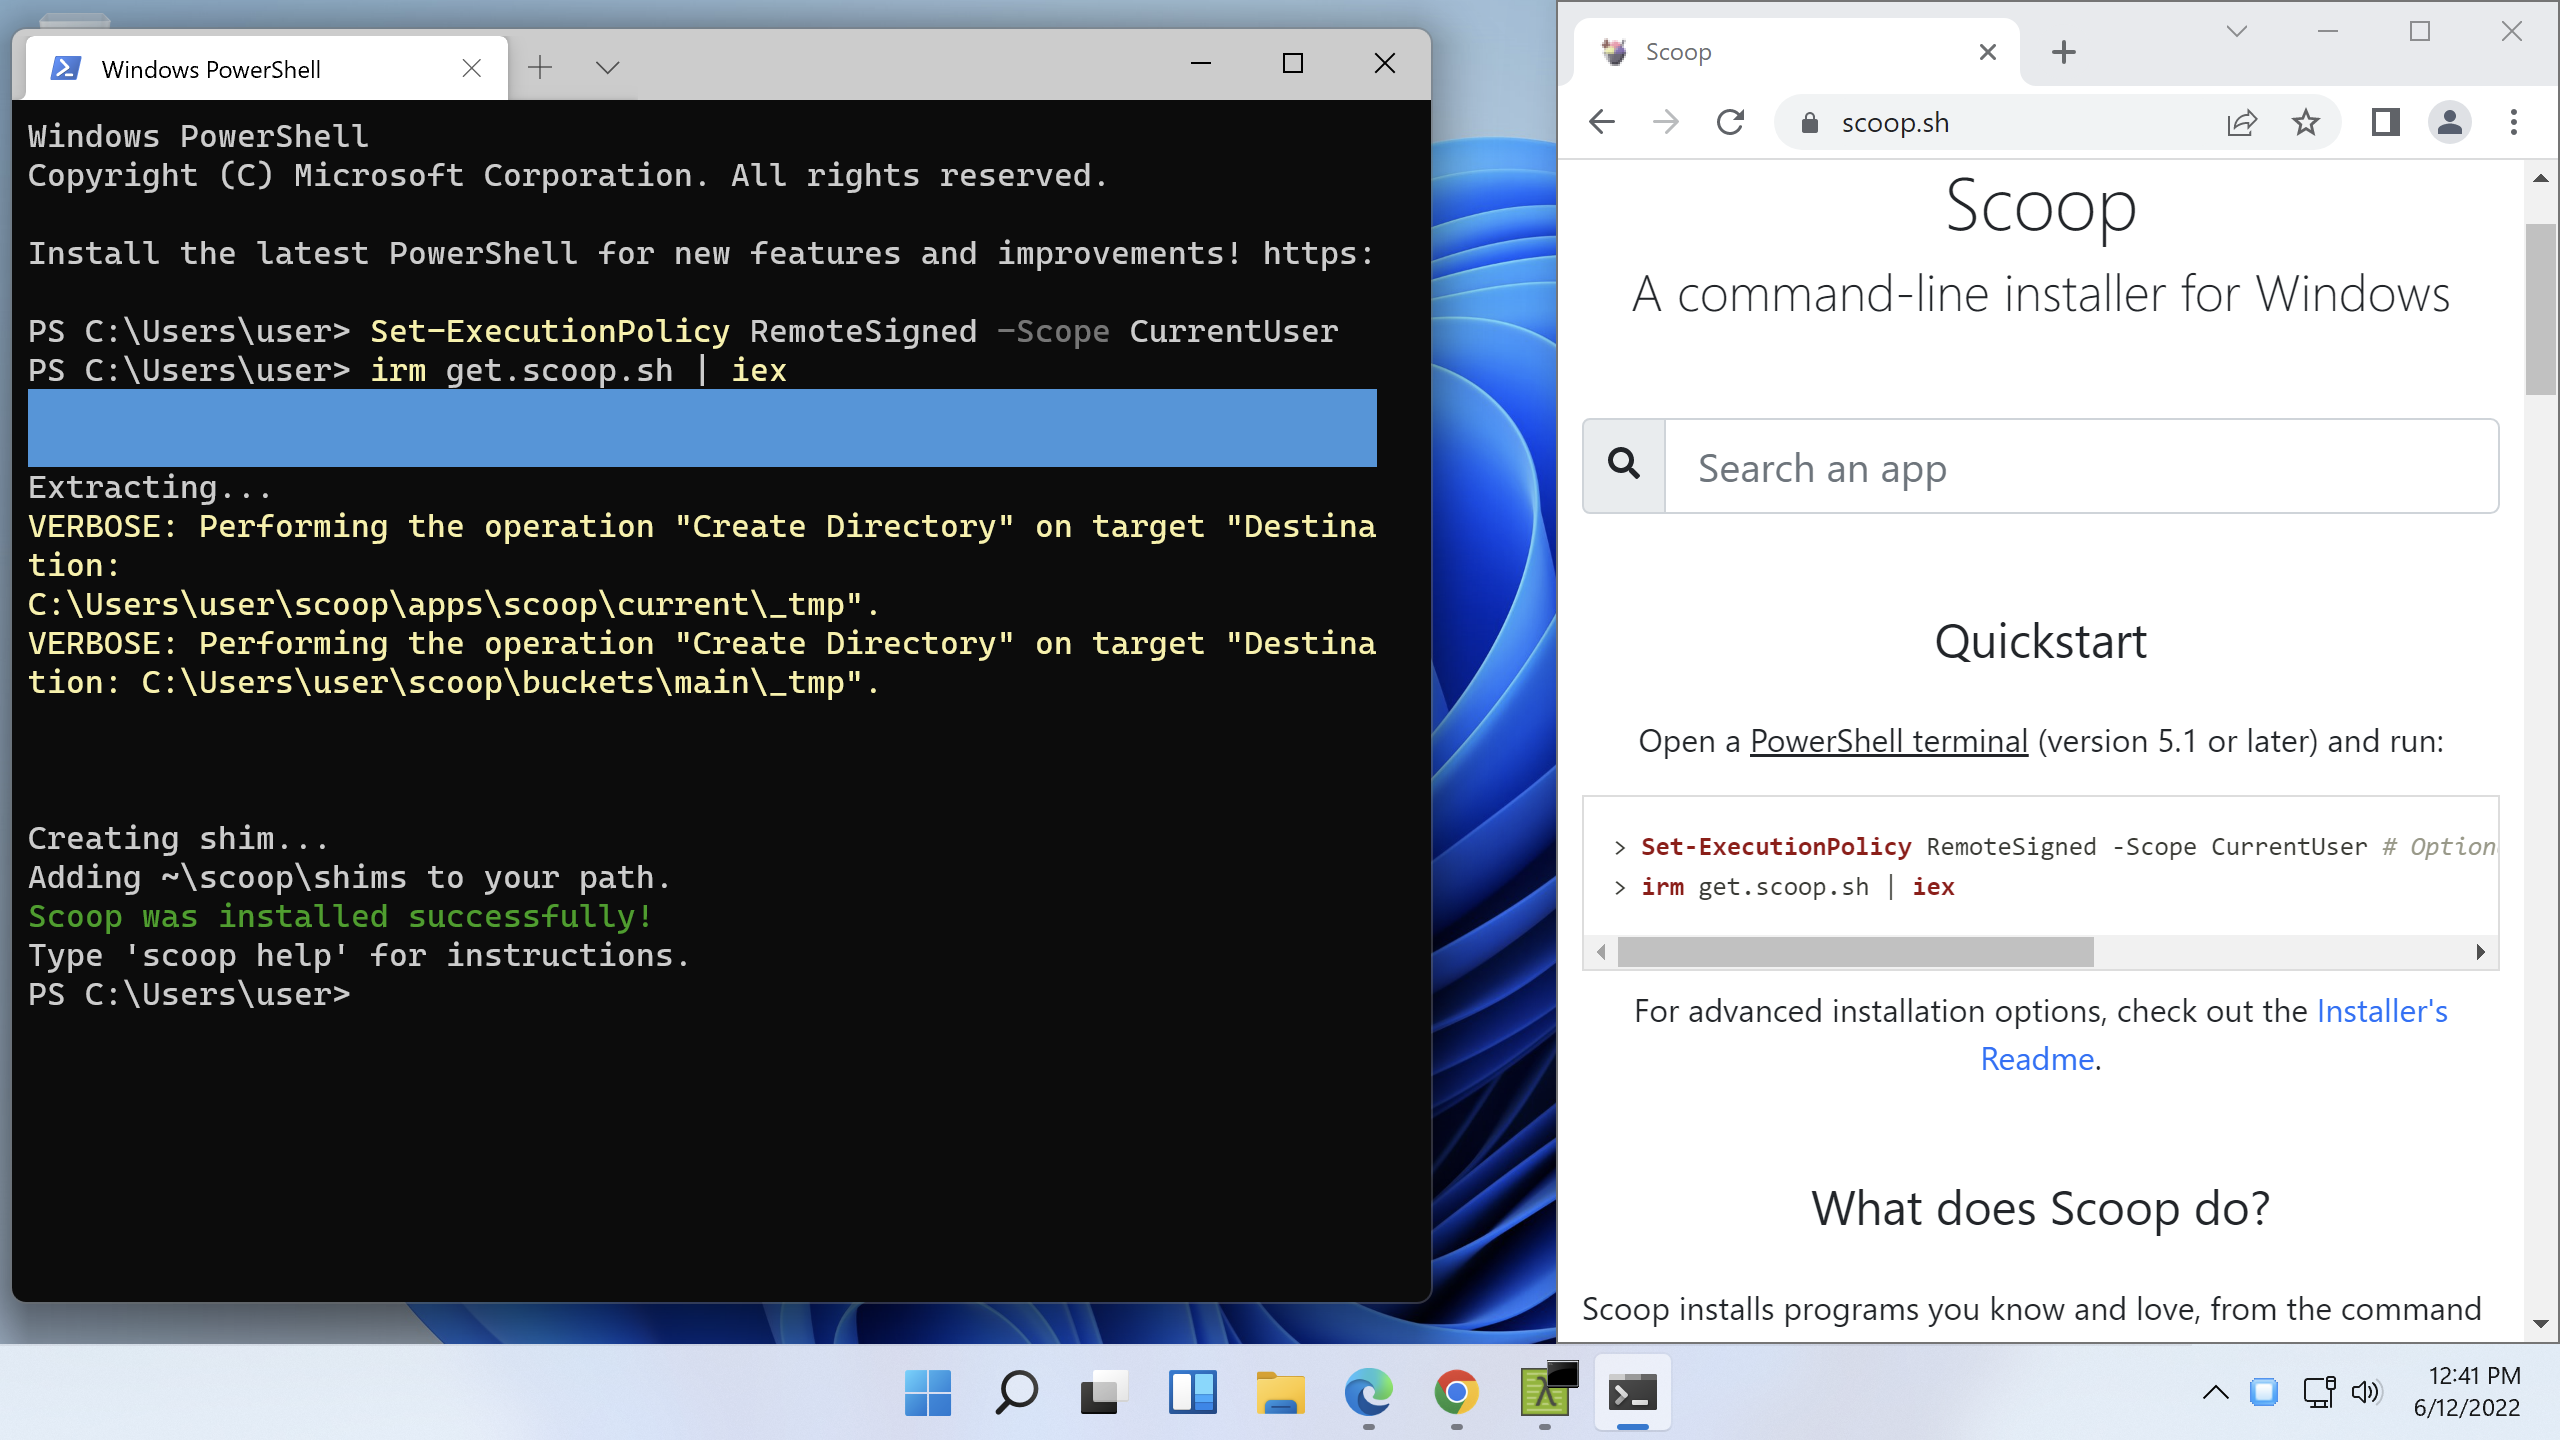
Open scoop.sh and run the two commands given.
Set-ExecutionPolicy RemoteSigned -Scope CurrentUser
irm get.scoop.sh | iex
Next, if you don't already have Git installed, you'll need to install that. It's easy with the scoop command line!
scoop install git
Install the extras so we have access to more packages.
scoop bucket add extras
Install the Visual C++ Redistributable, which is required for certain packages. (You'll get prompted for administrative elevation twice).
scoop install extras/vcredist2022
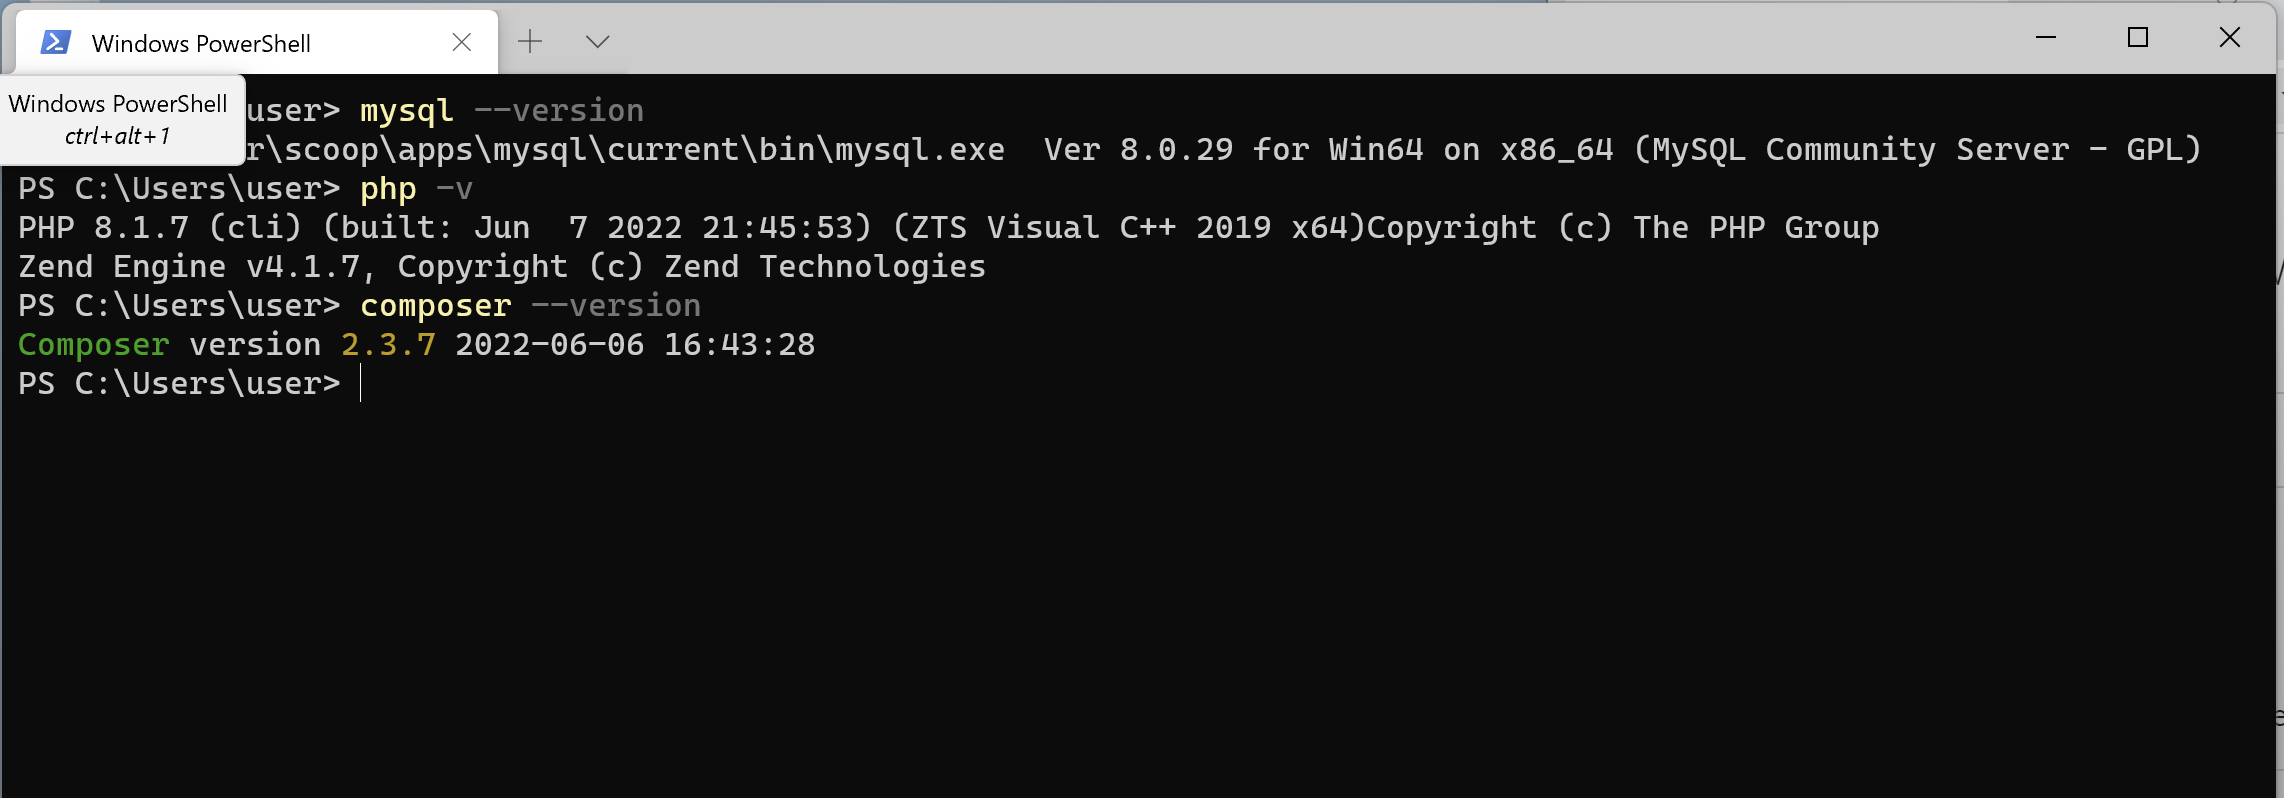
Now we can install a few packages that are handy for web development. Scoop lets you specify several at once, so let's install PHP, Composer, MySQL, and the Long-Term Support version of NodeJS. (You may omit any that you already have installed on your machine).
scoop install php composer mysql nodejs-lts
We can check that these are installed with the correct versions by running the following commands.
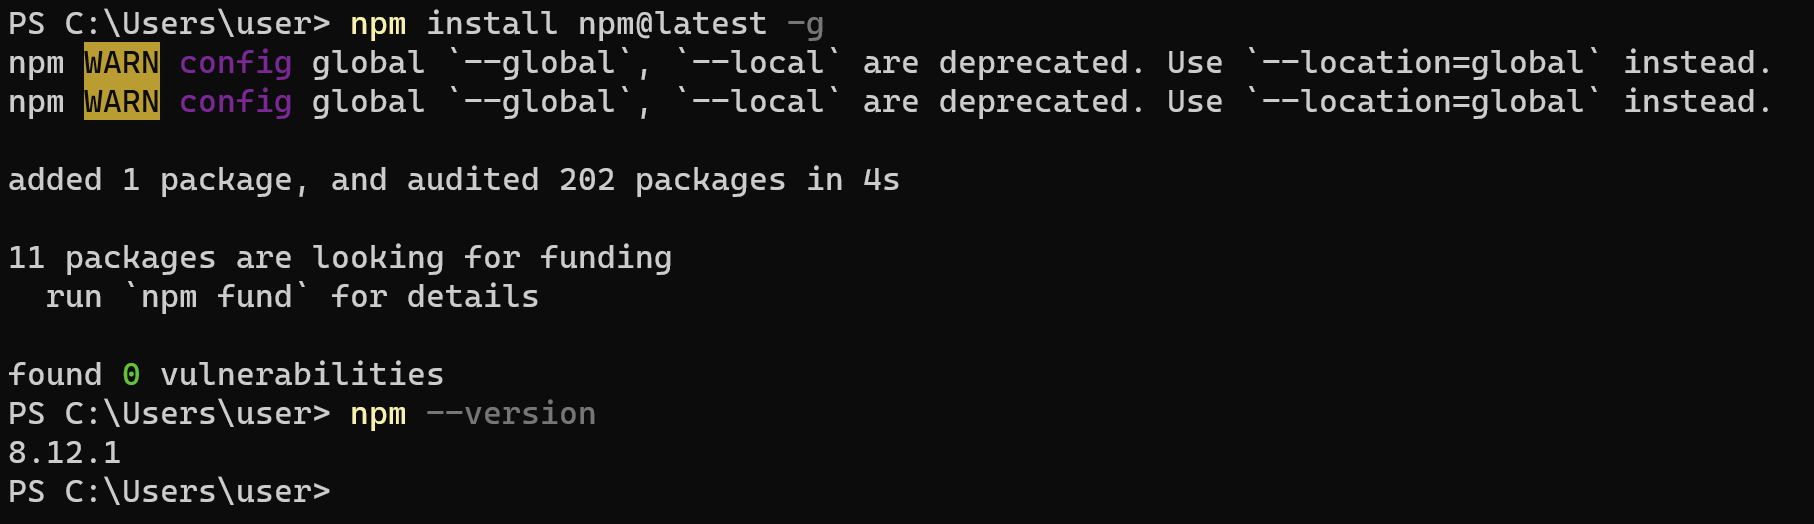
3. Update Node Package Manager (Optional)
As of the writing of this, npm squawks about some deprecation but that can easily be fixed by telling it to update itself to the latest version
npm install npm@latest -g
4. Link Scoop Latest Versions to Laragon
Now we have up-to-date versions of some of the software we need, but we have to link those versions into Laragon for our LAMP stack to be able to run those versions. I have found that the best, most reliable way to do this is to create a symbolic link from scoop's latest link into the folder that Laragon uses. This should also use Laragon's configuration for PHP, which will be helpful and prevent some problems.
Unfortunately on Windows, you need to be running PowerShell as an administrator to create a symbolic link, and the command is not exactly terse. Start a terminal as an administrator (Right click on the start menu then click 'Windows Terminal (Admin)'.
You can modify the following commands to ensure you use the correct Target path for your username (replace C:\Users\user with C:\Users\jd, for instance).
# NOTE: Must run as administrator!
# Replace username in Targets below with your actual username
New-Item -ItemType SymbolicLink -Path C:\laragon\bin\php\current -Target C:\Users\username\scoop\apps\php\current
New-Item -ItemType SymbolicLink -Path C:\laragon\bin\mysql\current -Target C:\Users\username\scoop\apps\mysql\current
If this worked, you can close the Administrator terminal.
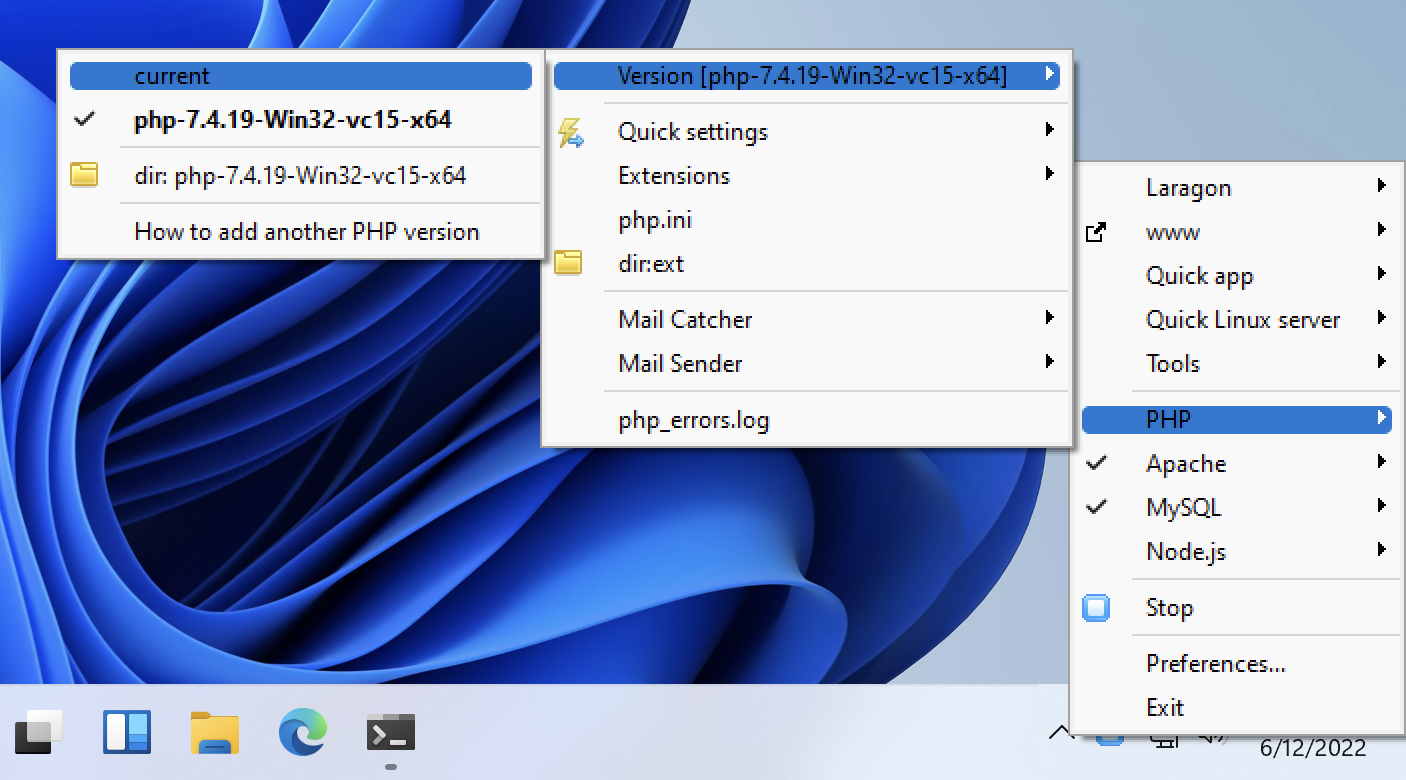
5. Stop Laragon and Select the Latest Versions of PHP & MySQL
With the link in place, we can now configure Laragon to use the new versions of PHP & MySQL we installed with scoop.
- Right click on the Laragon tray icon and click the following
- Click Stop (if Laragon is already running the server)
- PHP -> Version ... -> current
- MySQL -> Version ... -> current
6. Install the Laravel Installer (optional)
If you don't work with Laravel, you could skip this step, but I like to do this as a check that everything is working correctly as Laravel will use almost every part of our installation.
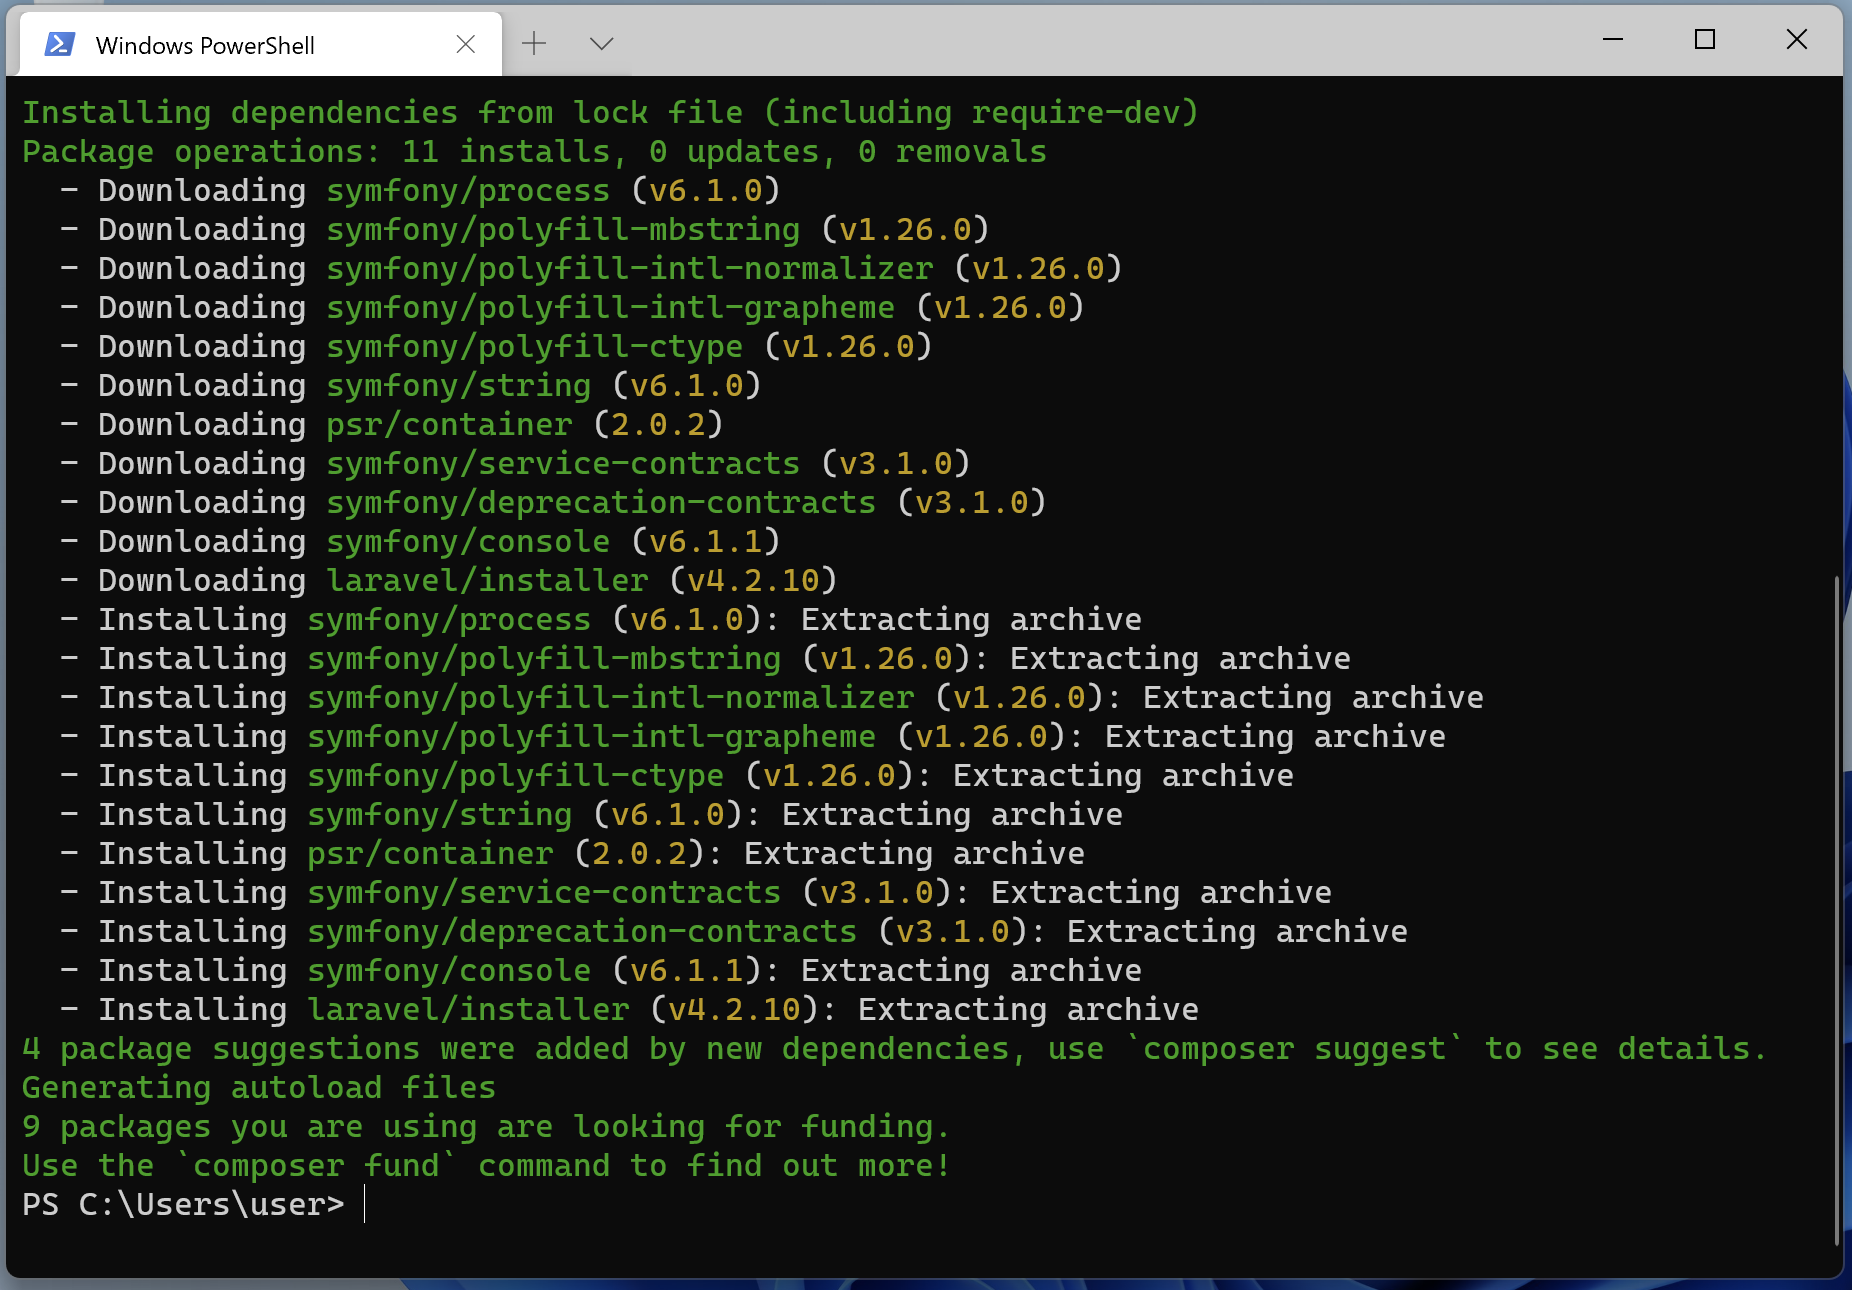
composer global require laravel/installer
Now we can create a new Laravel app in the C:\laragon\www folder to test that this works.
cd C:\laragon\www
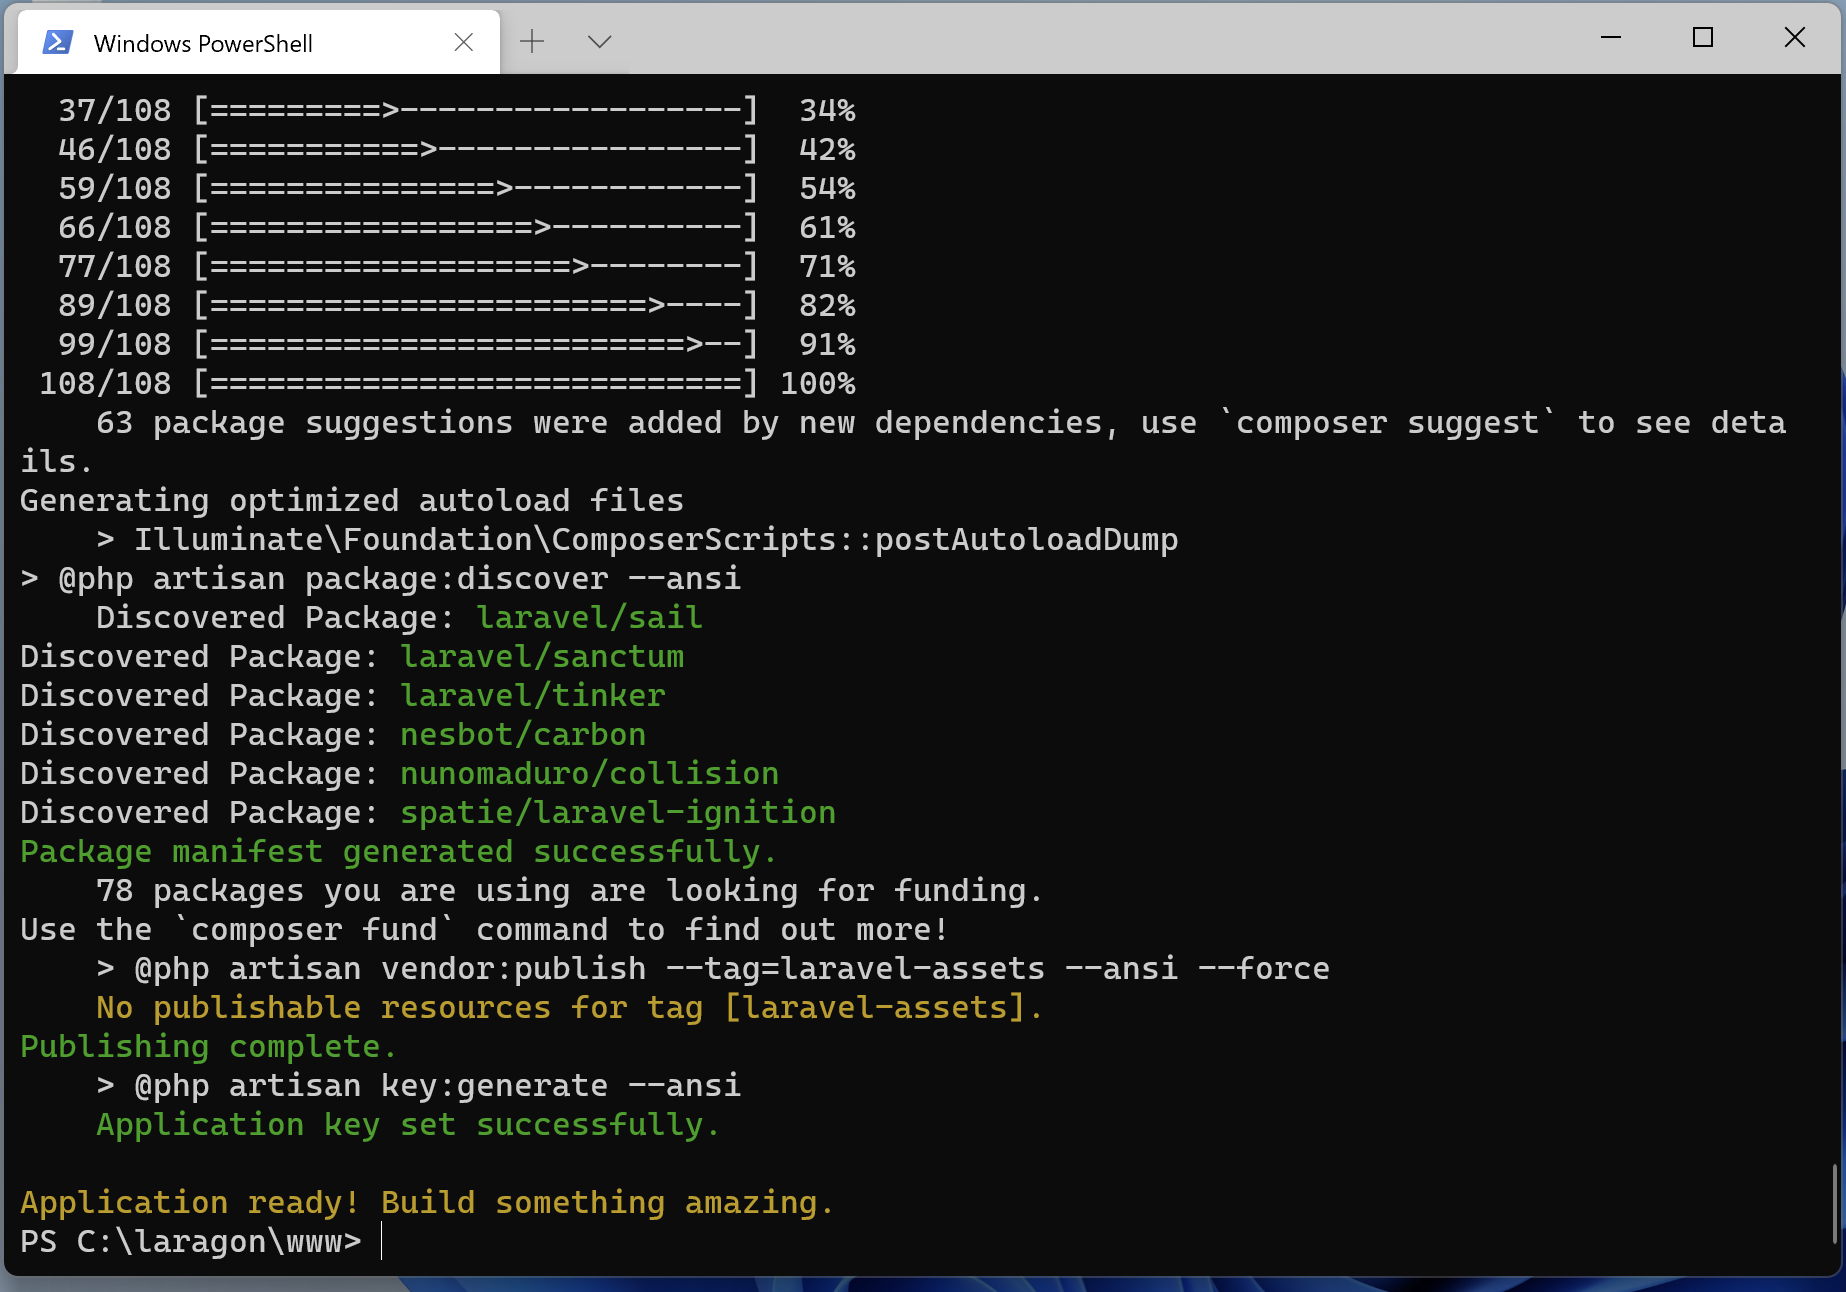
laravel new laravel
7. Test That the Server Works
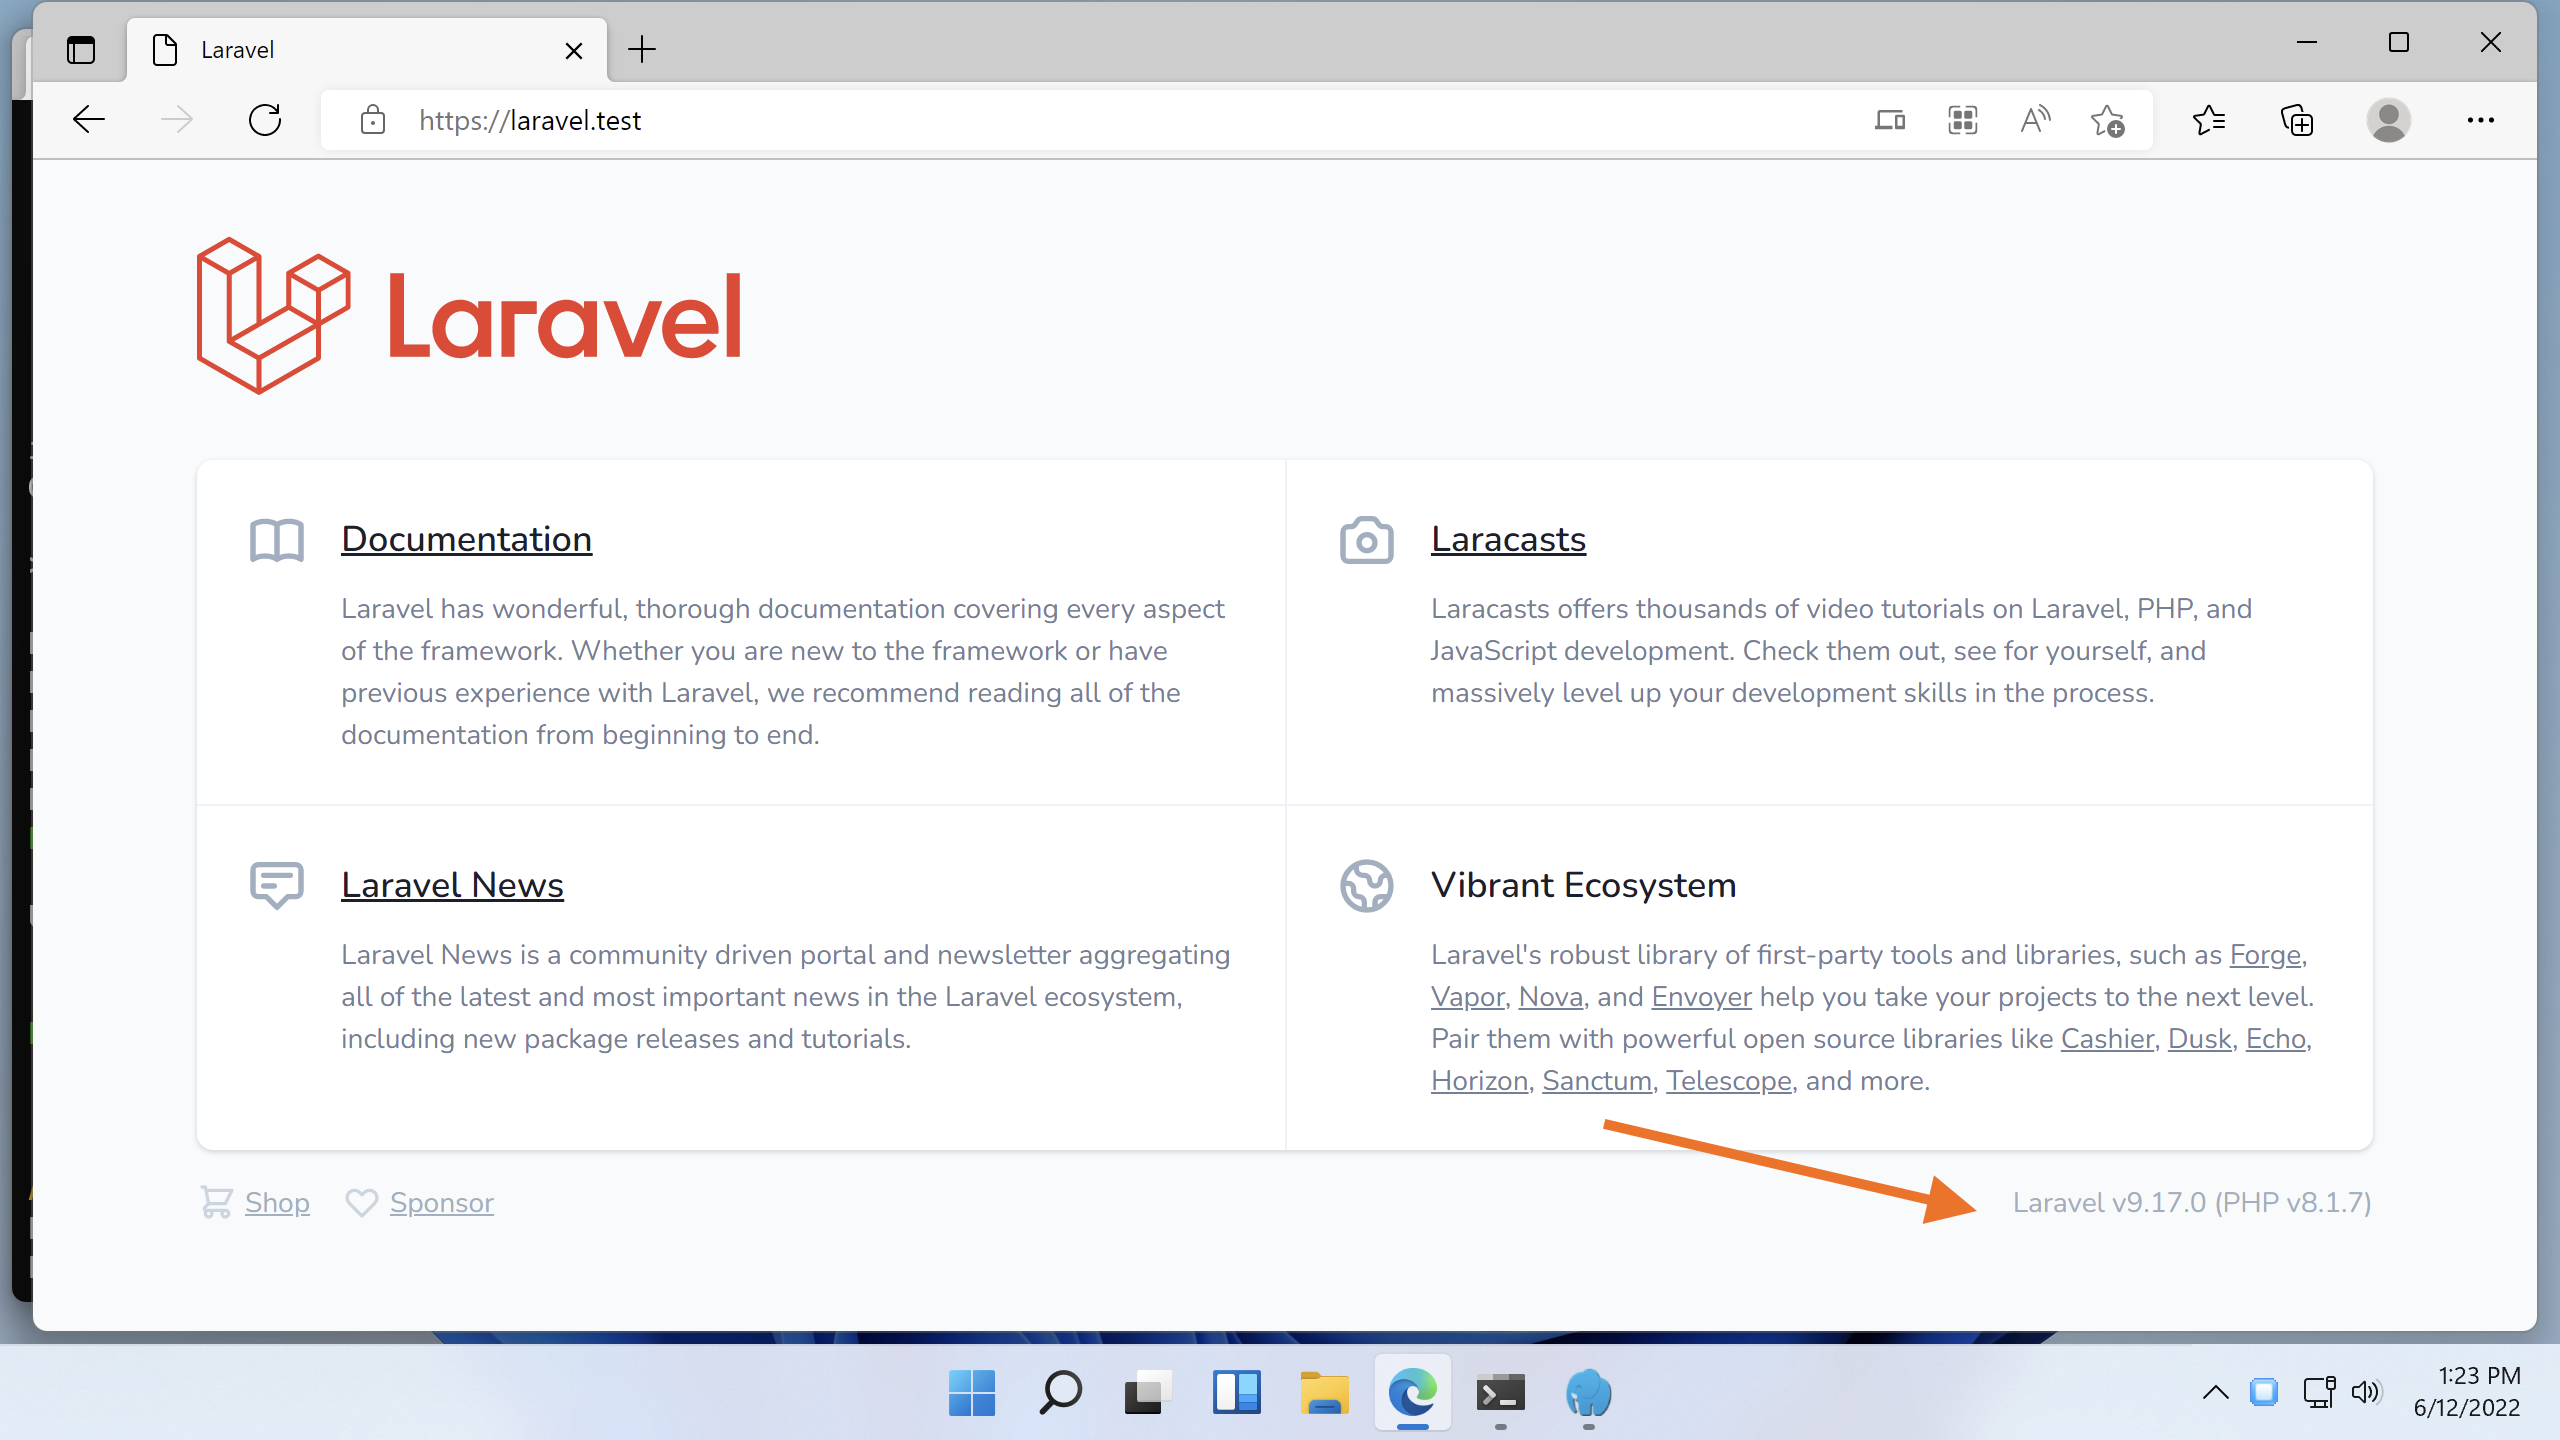
Now you can open Laragon and click "Start All" to run the server. A popup should indicate that a new site has been detected, and Laragon will add it to your hosts file and configure Apache to use it.
Visit https://laravel.test in your browser. If the site loads, we are golden! You can check your PHP version at the bottom of the default Laravel project page.
8. Further Testing and Configuration (optional)
You can create a database for
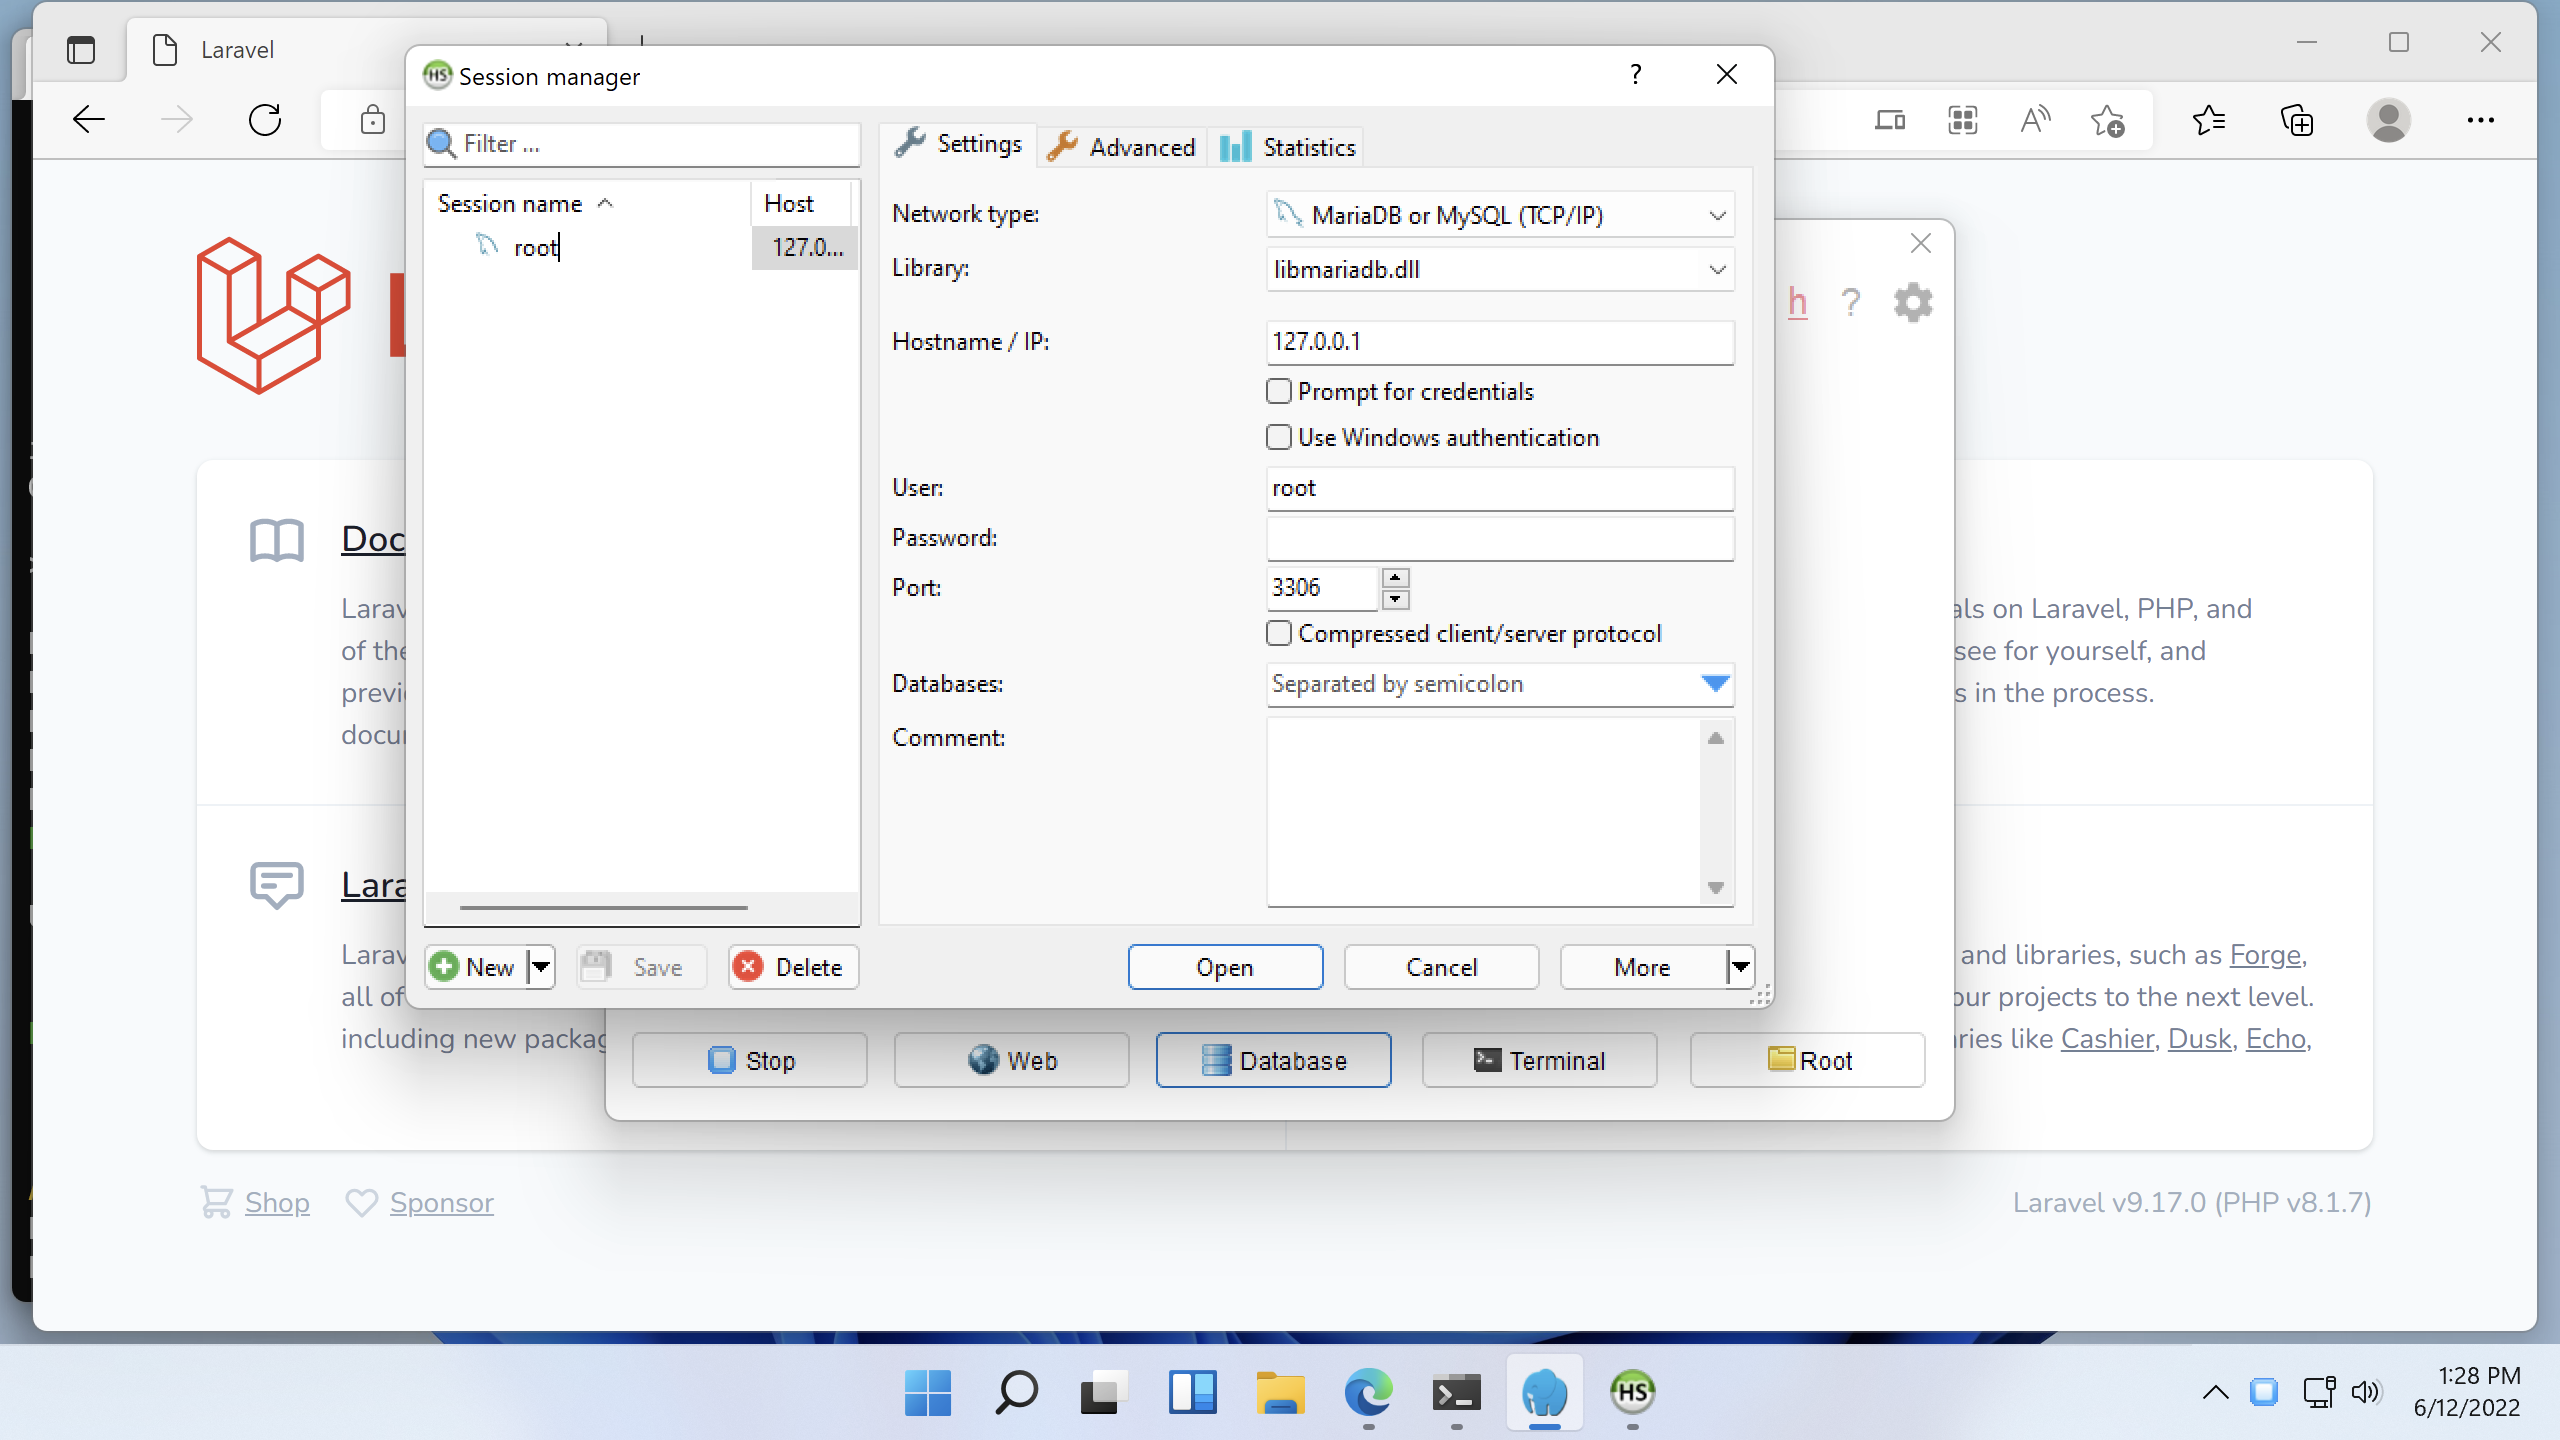
 your test project by clicking "Database" in Laragon, which will open HeidiSQL. Create a new session (I just call it "root") to connect to the database. By default, there is no root password, but it's not a bad idea to add one.
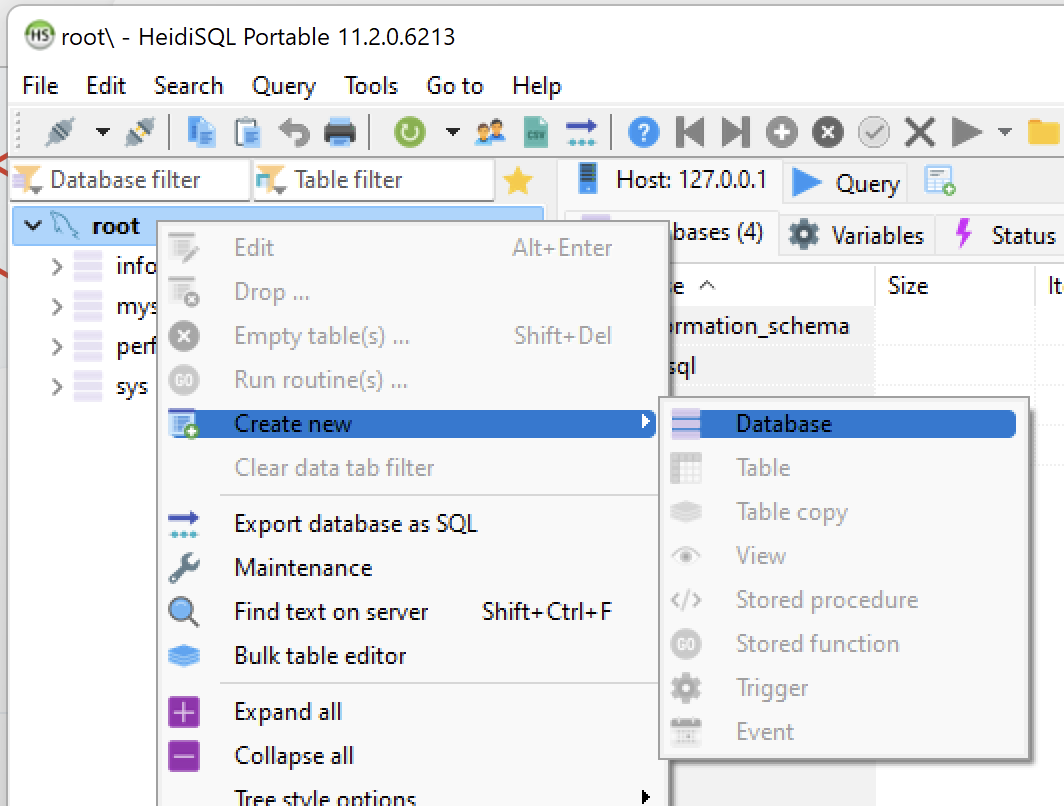
Right click on your database connection in HeidiSQL and click Create new -> Database. You can create a new database named 'laravel'.
Now go back to your terminal and cd to C:\laragon\www\laravel. You can run the following command to build out the default database tables for the Laravel app.
php artisan migrate
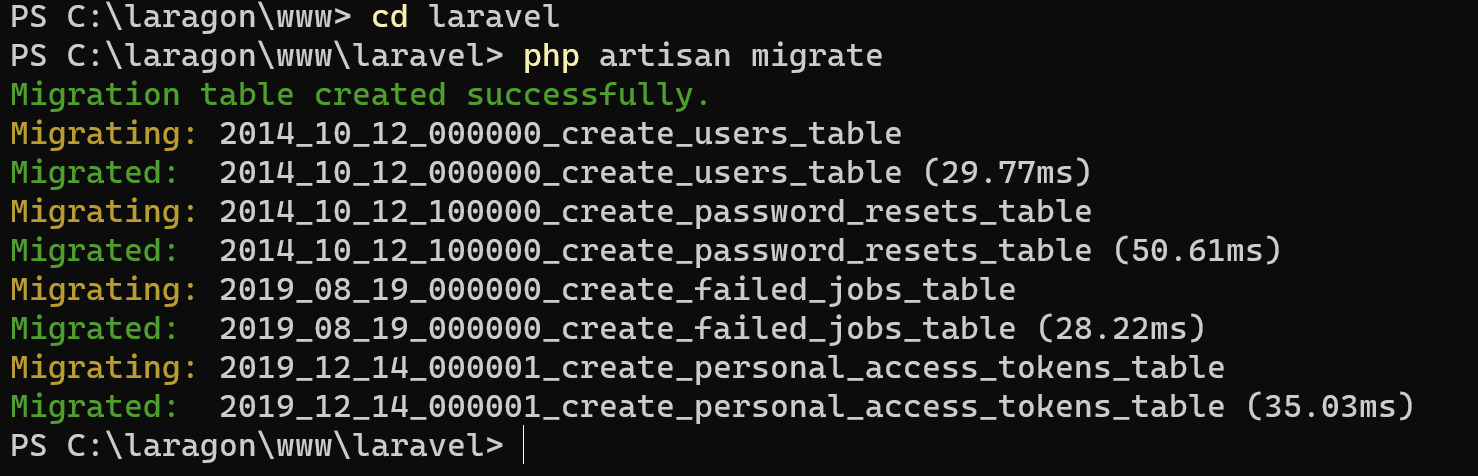
If that worked, your database should be in good shape.
9. Final Tweaks and Installation
You'll now need a good IDE (integrated development environment) if you don't have one. I recommend PHPStorm by JetBrains because it has almost everything you need built in and it is a very smart and helpful editor. It does have a cost, although you can get a free license if you are a student. If you just want something free and good, you can also install VS Code which works very well for PHP development out of the box. I personally use both because I work with a number of programming languages and PHPStorm is more focussed on PHP and front-end languages (ie JavaScript).
With that, you'll have everything you need to get started building websites on your computer using PHP with SSL, friendly .test domain names for each project, and high performance.
If I missed anything or you have any troubles getting any of this working, please let me know in the comments. If you found this helpful, follow me on Twitter for more tips on how to up your web development game.
Update: If you get an error in Laravel, do this
Some time after I published this, I noticed sometimes the installation would show the following error:
Call to undefined function Illuminate\Encryption\openssl_cipher_iv_length()
To fix this problem, note that Laragon will be loading the configuration file from
C:\users\username\scoop\persist\php\cli\php.ini, where Laragon would make you believe that it is running from C:\laragon\bin\php\SELECTED_VERSION\php.ini.
Consequently, what happened in my case is that the extensions directory was set to "ext", but it needed to be set to the fully qualified path of the extensions folder in the Scoop installation. It wasn't loading in the modules because it couldn't find them.
To fix this, edit the extension_dir line in C:\users\username\scoop\persist\php\cli\php.ini to the following:
extension_dir = "C:/laragon/bin/php/current/ext"